It’s been awhile since my last post, but that doesn’t mean I’ve not been busy. So, a little catch up (but not catsup) on my current project is on order.
I am working on a commission for an A5 style mandolin. The A5 style (and it’s more ornate F5 sibling) were originally developed in the Gibson factory by Lloyd Loar. They have carved tops and backs and f-holes rather than oval holes and flat or canted tops and backs of earlier mandolins. I am using curly maple for the back, neck, and sides, and a very nice, aged, Sitka spruce set from Orcas Island Tonewoods for the top.
With very curly maple, it’s always a bit of a worry when bending the sides on the hot pipe; the structure of the curls make them more prone to breaking. But, I trusted my technique and approached the task with guns ablazing (which is definitely not the right technique, as it leaves bullet holes to fill later on.) I did have an extra side milled from the stock I used, just in case. The first side bent easily, no problems. I got it clamped up in the mold and grabbed the second side. Of course it snapped soon into the process. Sigh. While I did have an extra to use, if that snapped I’d have to start from the beginning, since a different stock wouldn’t have the same curl pattern. Luckily, the third side proved as malleable as the first, and it joined it’s brother (sister?) in the mold.

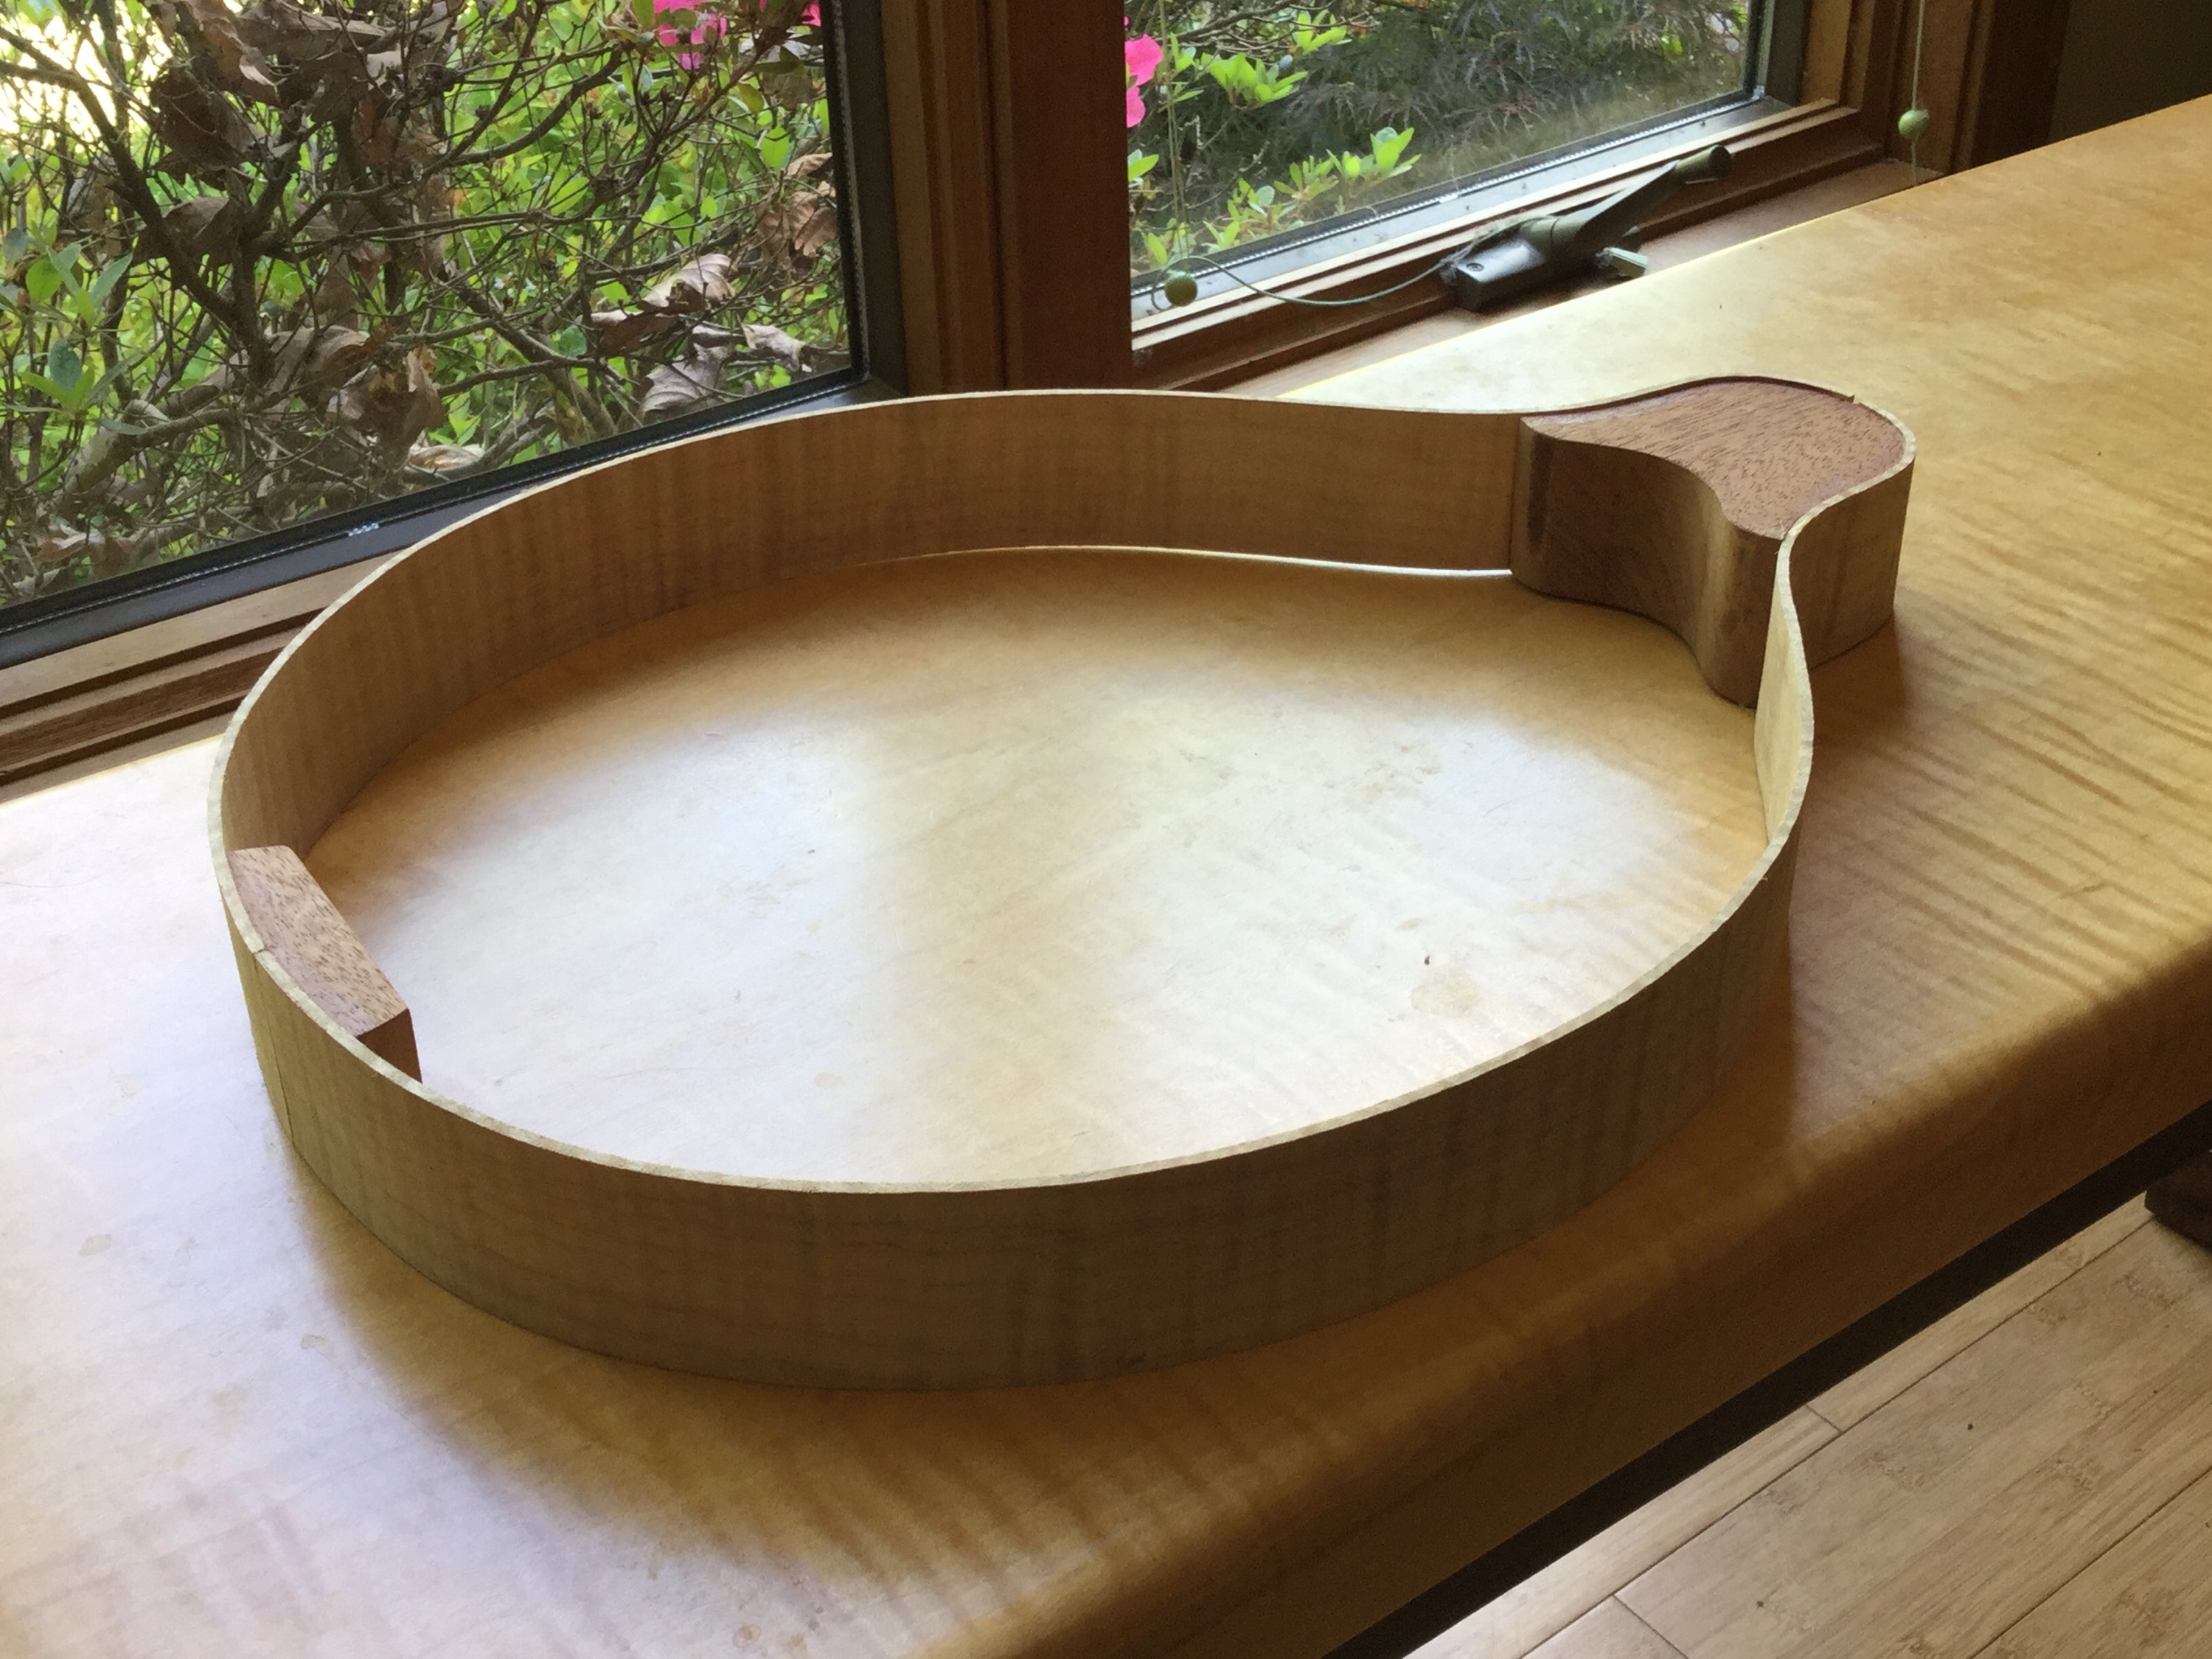
After allowing to dry and set, a headblock and heelblock were made from some mahogany, following the curves of the mold. Then the two sides were trimmed at the ends and glued to the two blocks in the mold. The rim assembly was done.
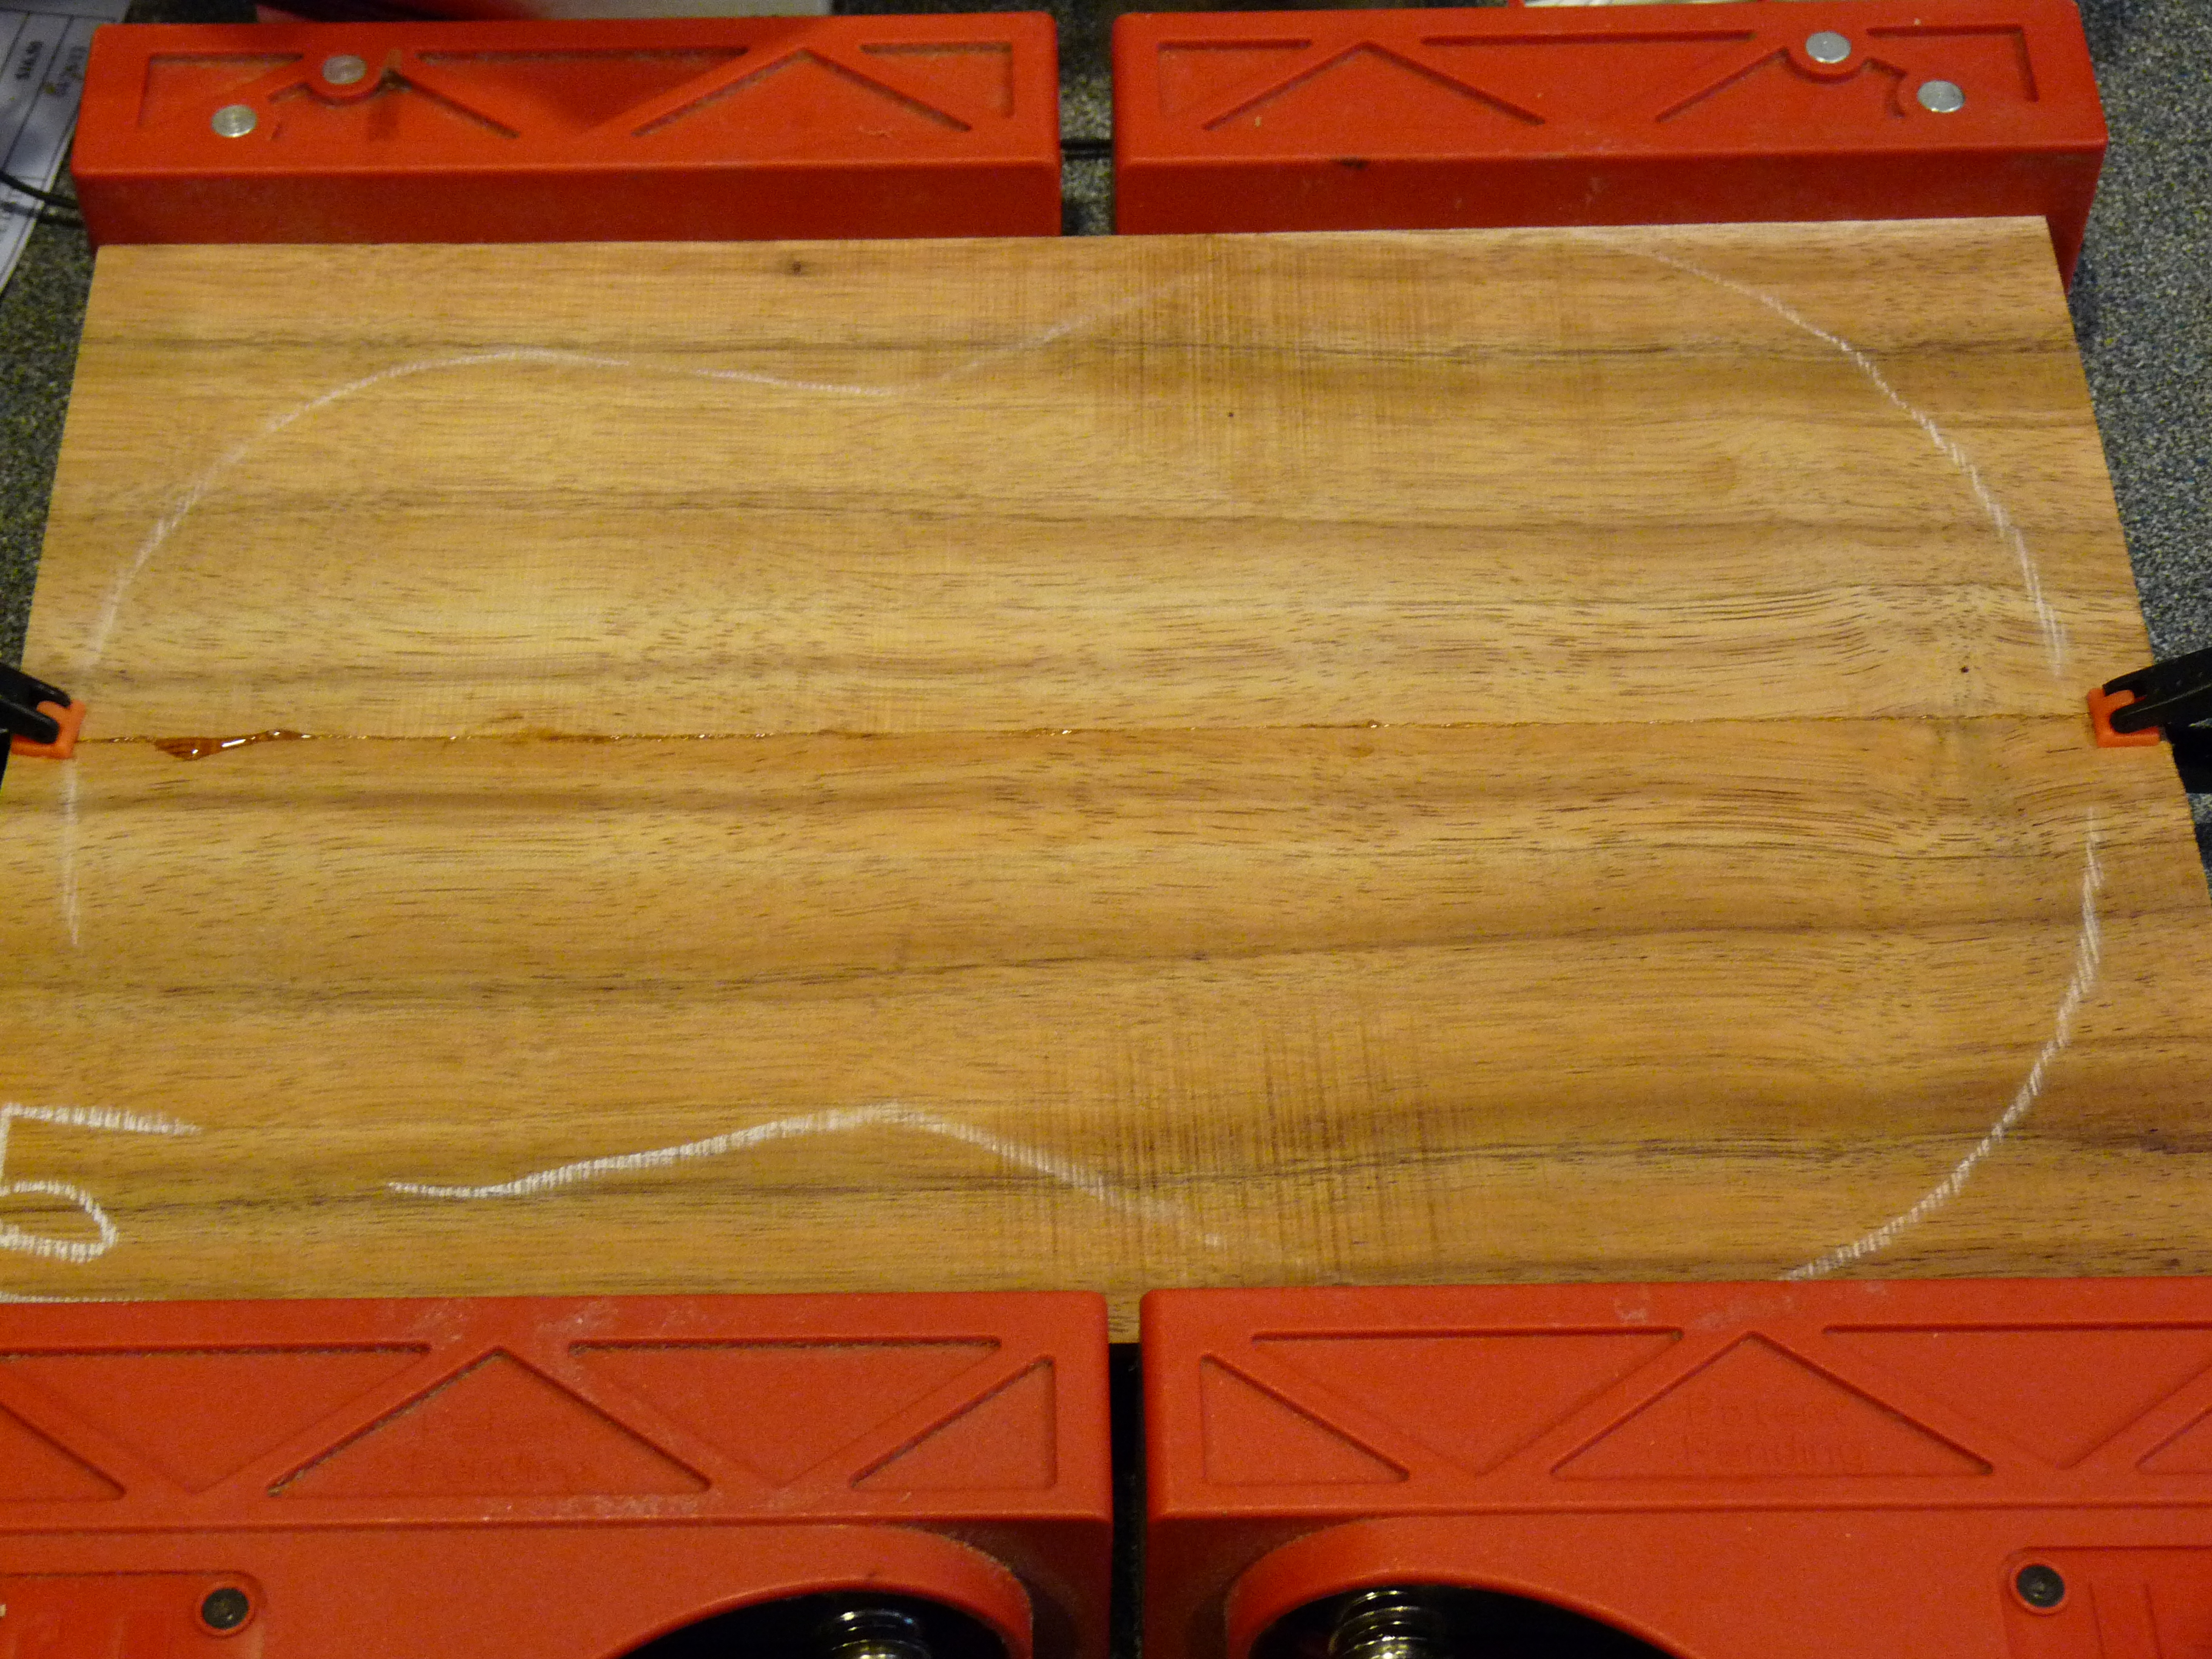
Now the real fun begins. The thing about a carved top is that it is just that, carved. So, after jointing and glueing the spruce for the top, I traced the outline of the rim assembly onto the spruce and added some contour lines. These contour lines will be used to rout out the wood to rough depth; each line indicating an increasingly lower depth. 
This routing saves a lot of time by hogging away a lot of wood. 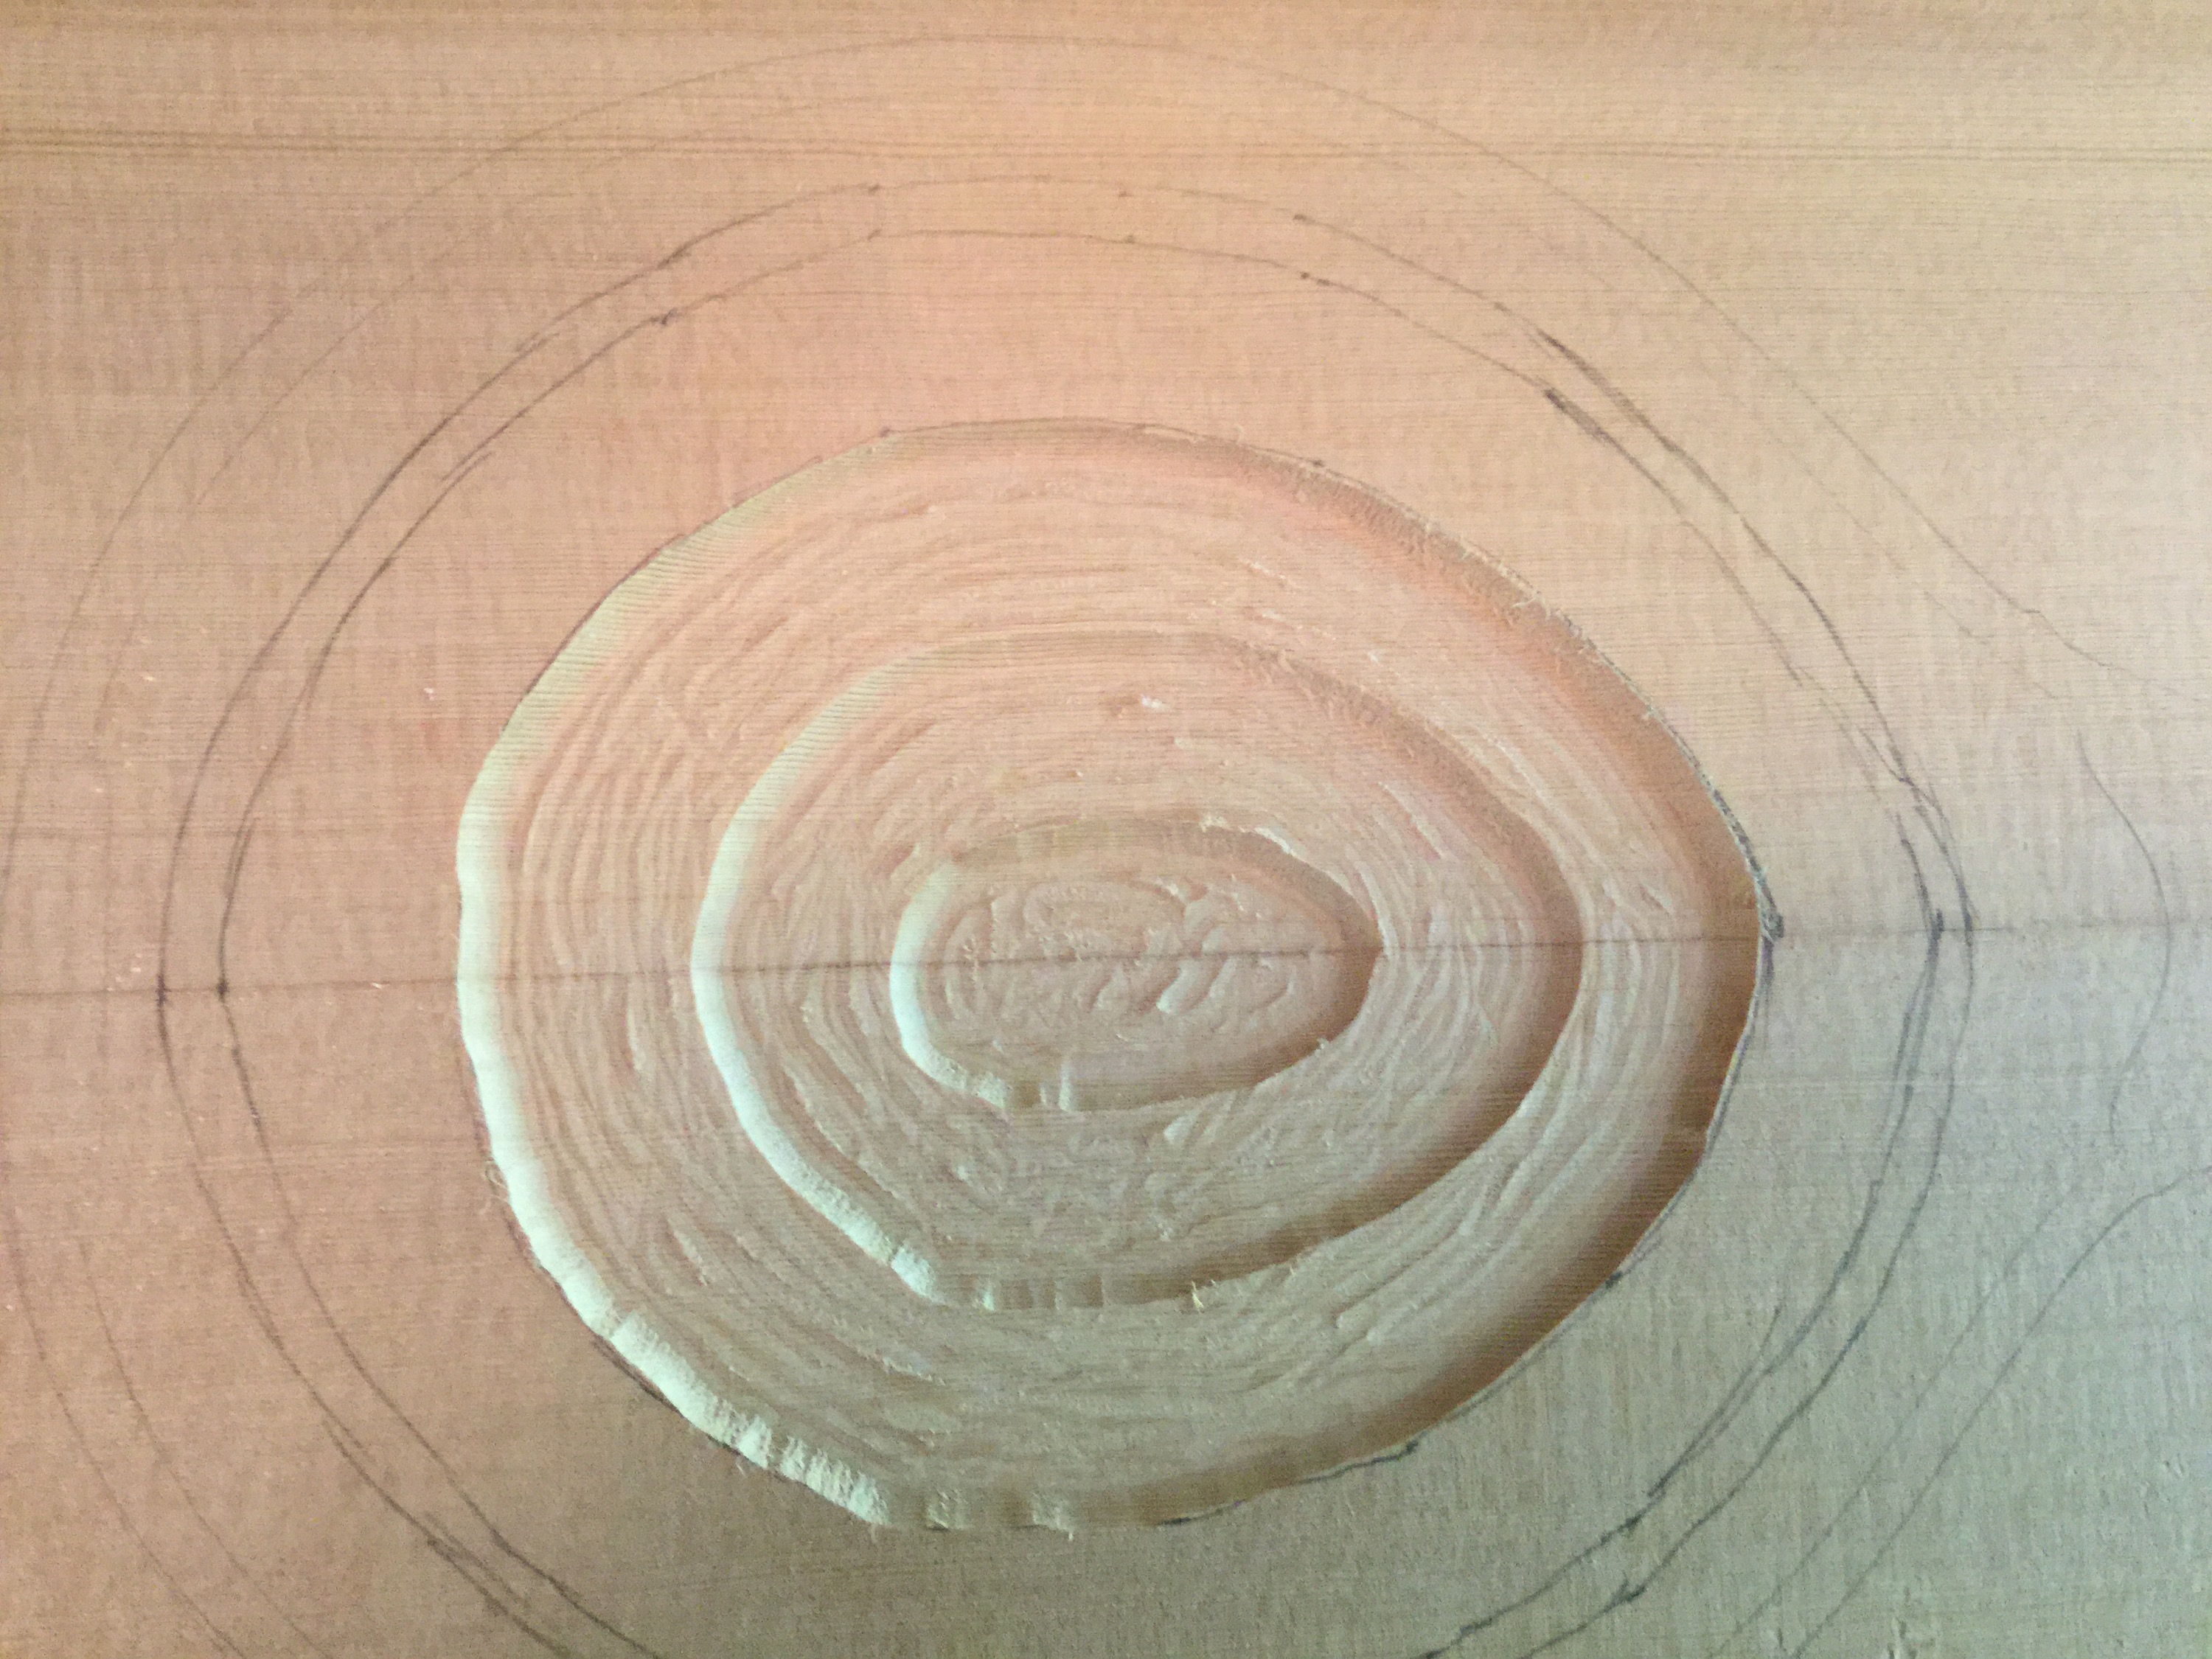
Then, with carving gouges, curved planes, scrapers, sandpaper, and a lot of effort, the inside of the top is shaped to the required concave form, checking against the plan’s templates many times along the way. From this inside shape, the outside curves will be gauged.
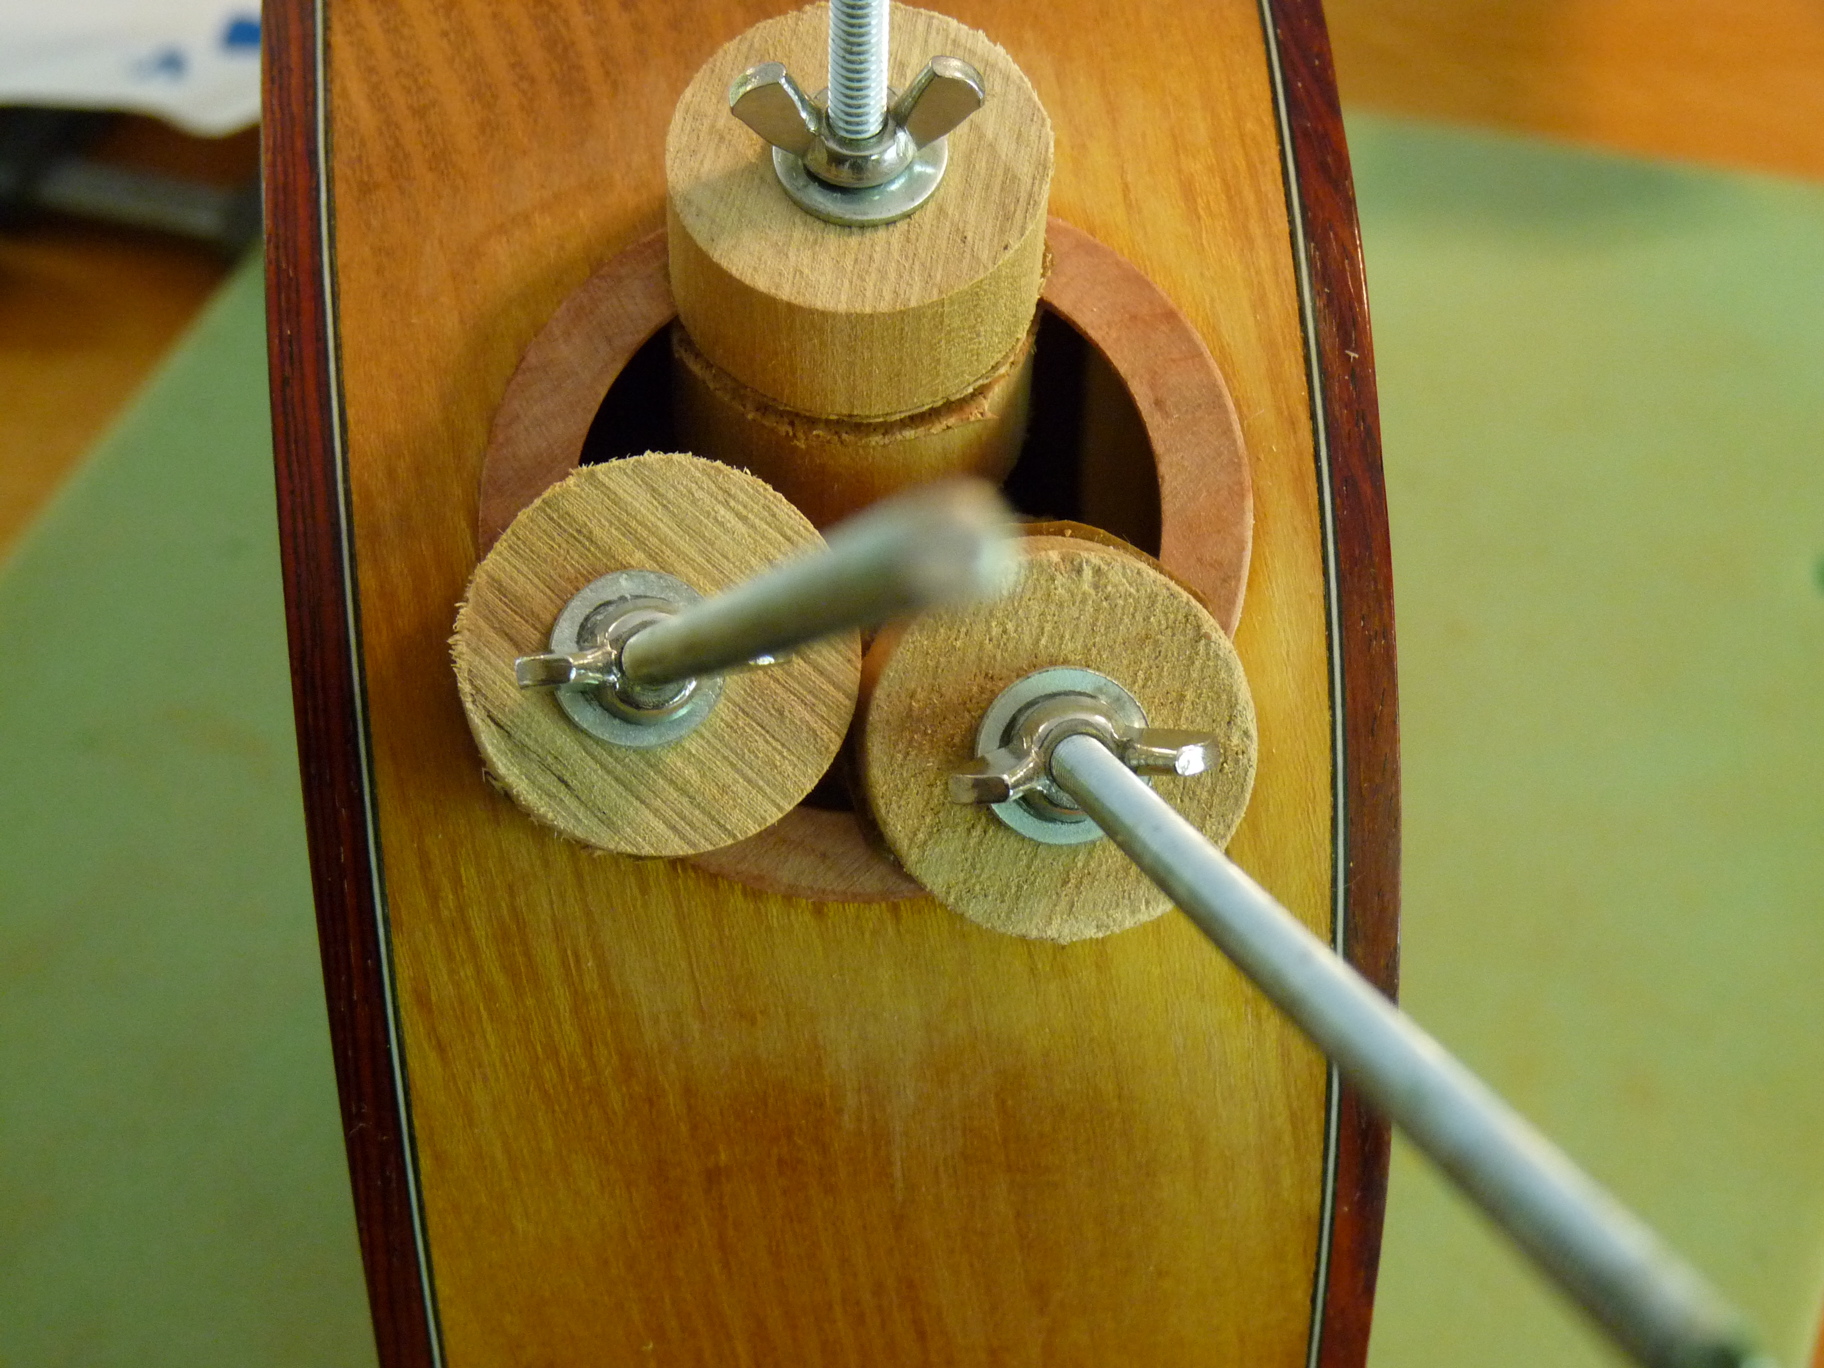
To carve the outside of the top, a jig helps measure the depths of holes drilled, giving a rough (very rough as you can see) mirror of the inside.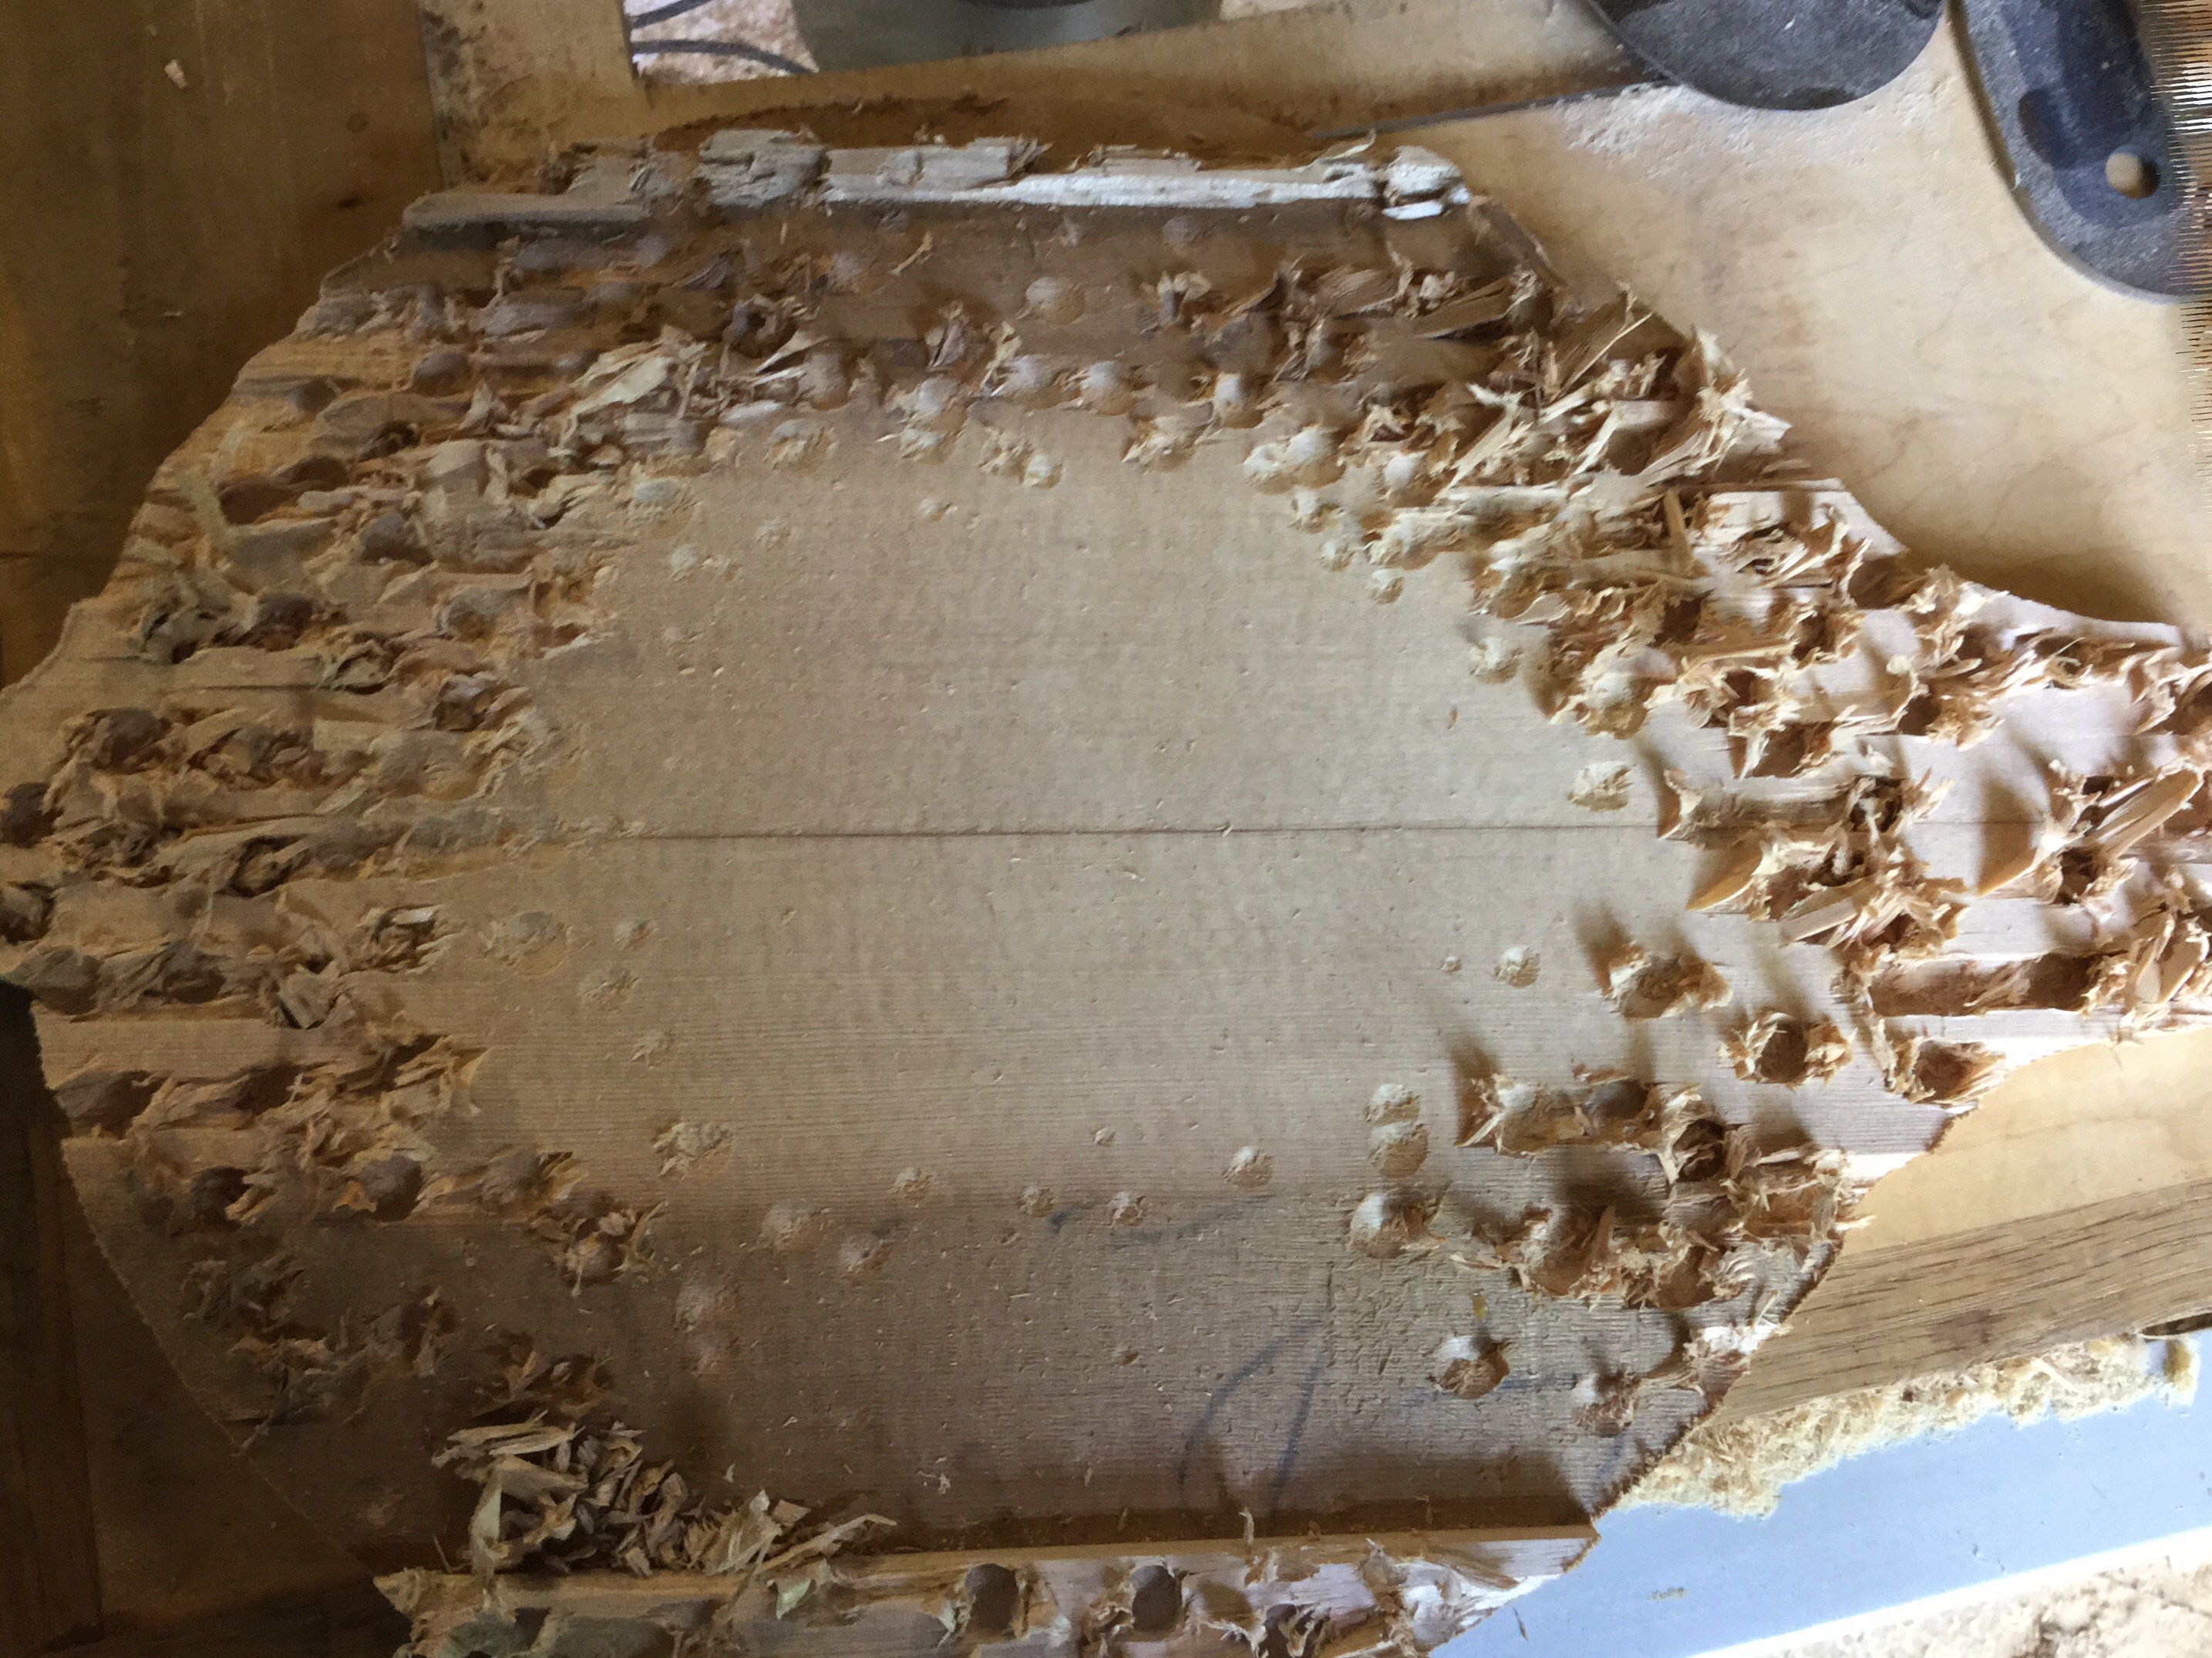
By first carving down to the bottom of the drill holes (using, again, gouges, planes, scrapers, and sandpaper) a rough thickness is attained; which is then refined to the desired finished thicknesses.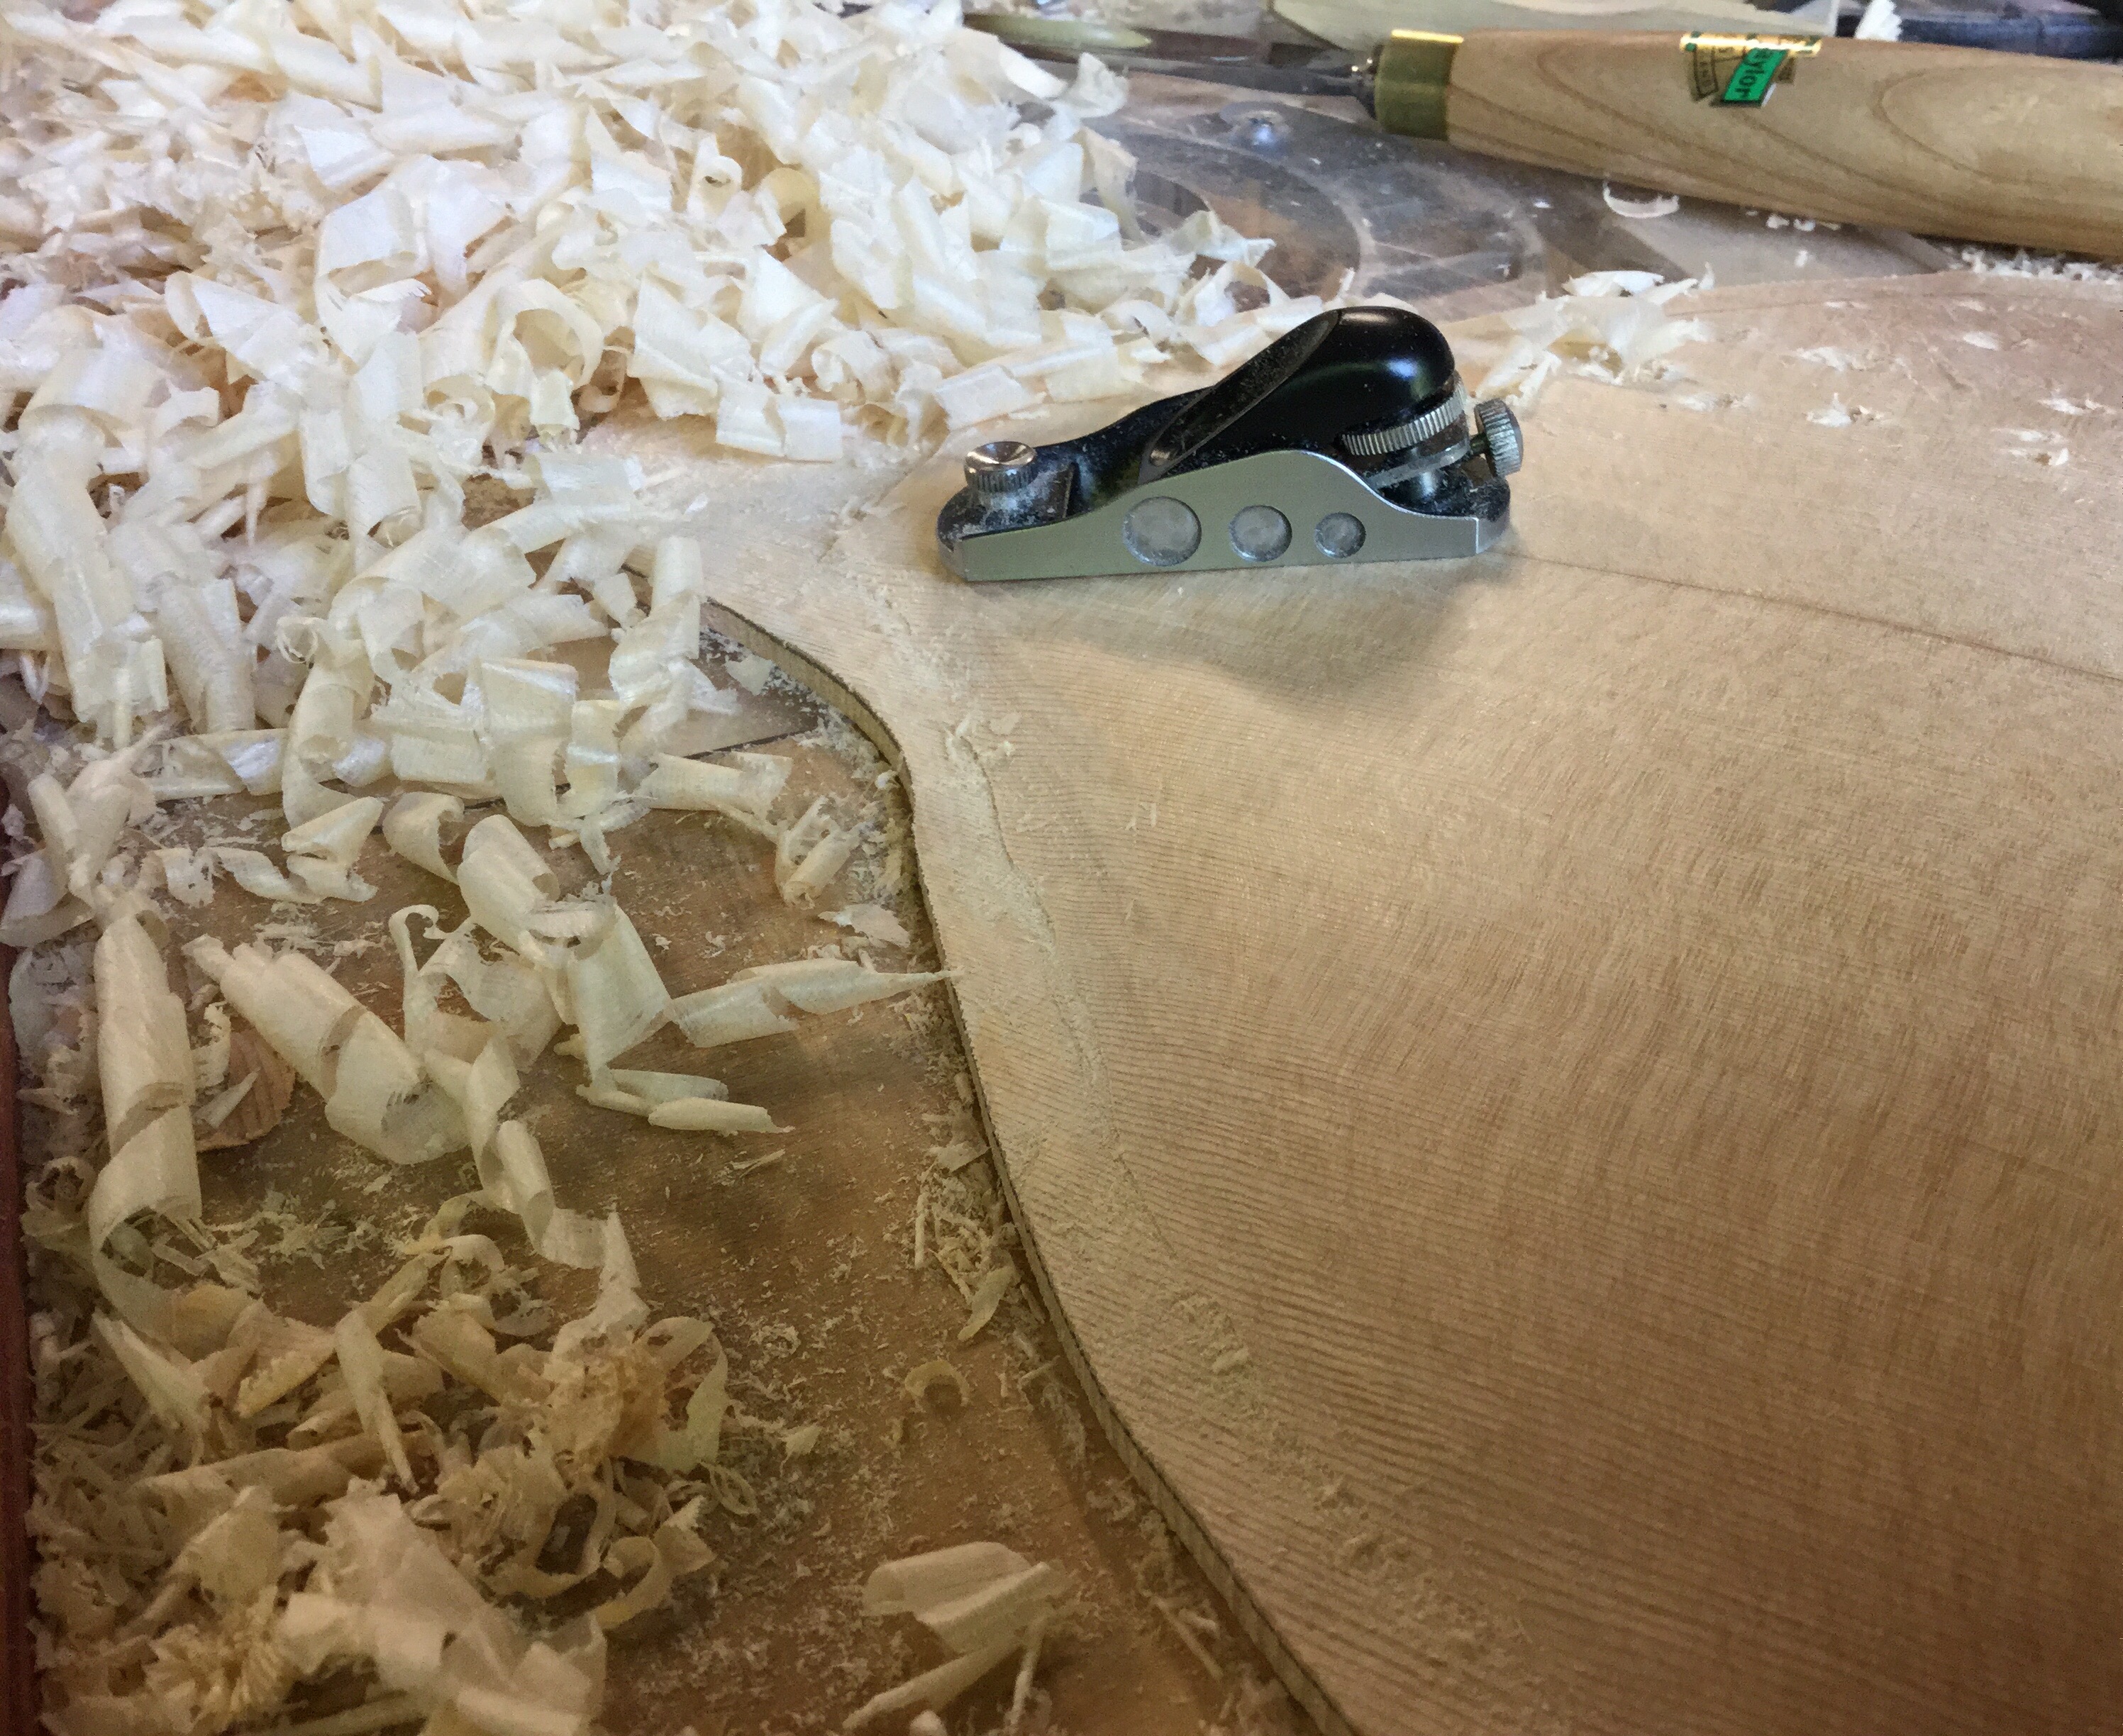
After many (oh so many!) shavings the refined top is neared. Then more checking with templates and thickness gauges, and more shavings; then more…well, you get the idea. Finally it’s at a point to go on to the next step.

The placement of the f-holes is mapped out on the underside, and gauze is glued on as a reinforcement.

After this cures, the f-holes can be traced onto the top side, and holes drilled for the saw blades. 
Using a deep throat fret saw, the f-holes are sawn out and refined with files. (For the time being, they are left a little undersized. After the mandolin body is fully assembled, they will be enlarged to bring the air chamber into desired tuning.) 
Now, the top and sides can be positioned and joined; using as many clamps as you have on hand. 
The overhang is sanded flush to the sides, and a major step has been completed. 
Next, the neck will be carved and the glued to the body assembly. The back will go on after that step.
This could be a new fad in fitness training: mandolin top carving! A great way to work the upper body.