Stuck again
The sides of the uke were bent on the hot pipe, and allowed to set in the mold. The bracing was cut, shaped, and glued to the top and back. Here’s where the speed of hot hide glue really shines; there’s no real need for clamping, just get the glue on the brace and the top, quickly position it, and press firmly for a minute or so (a little initial rubbing of the brace in position helps form a bond too.) Then, its good and stuck, and the bond will only grow stronger as it sets. And on to the next. Now, if I were dealing with full size guitar bracing, I may still want to clamp, but with small size of the use’s bracing, its easy to press on the entire length of the braces. The head and heel blocks were glued to the sides, and the kerfng was glued to the sides. After chiseling in pockets for the braces in the kerfing, it was now go time, time to glue the top and back to the sides.
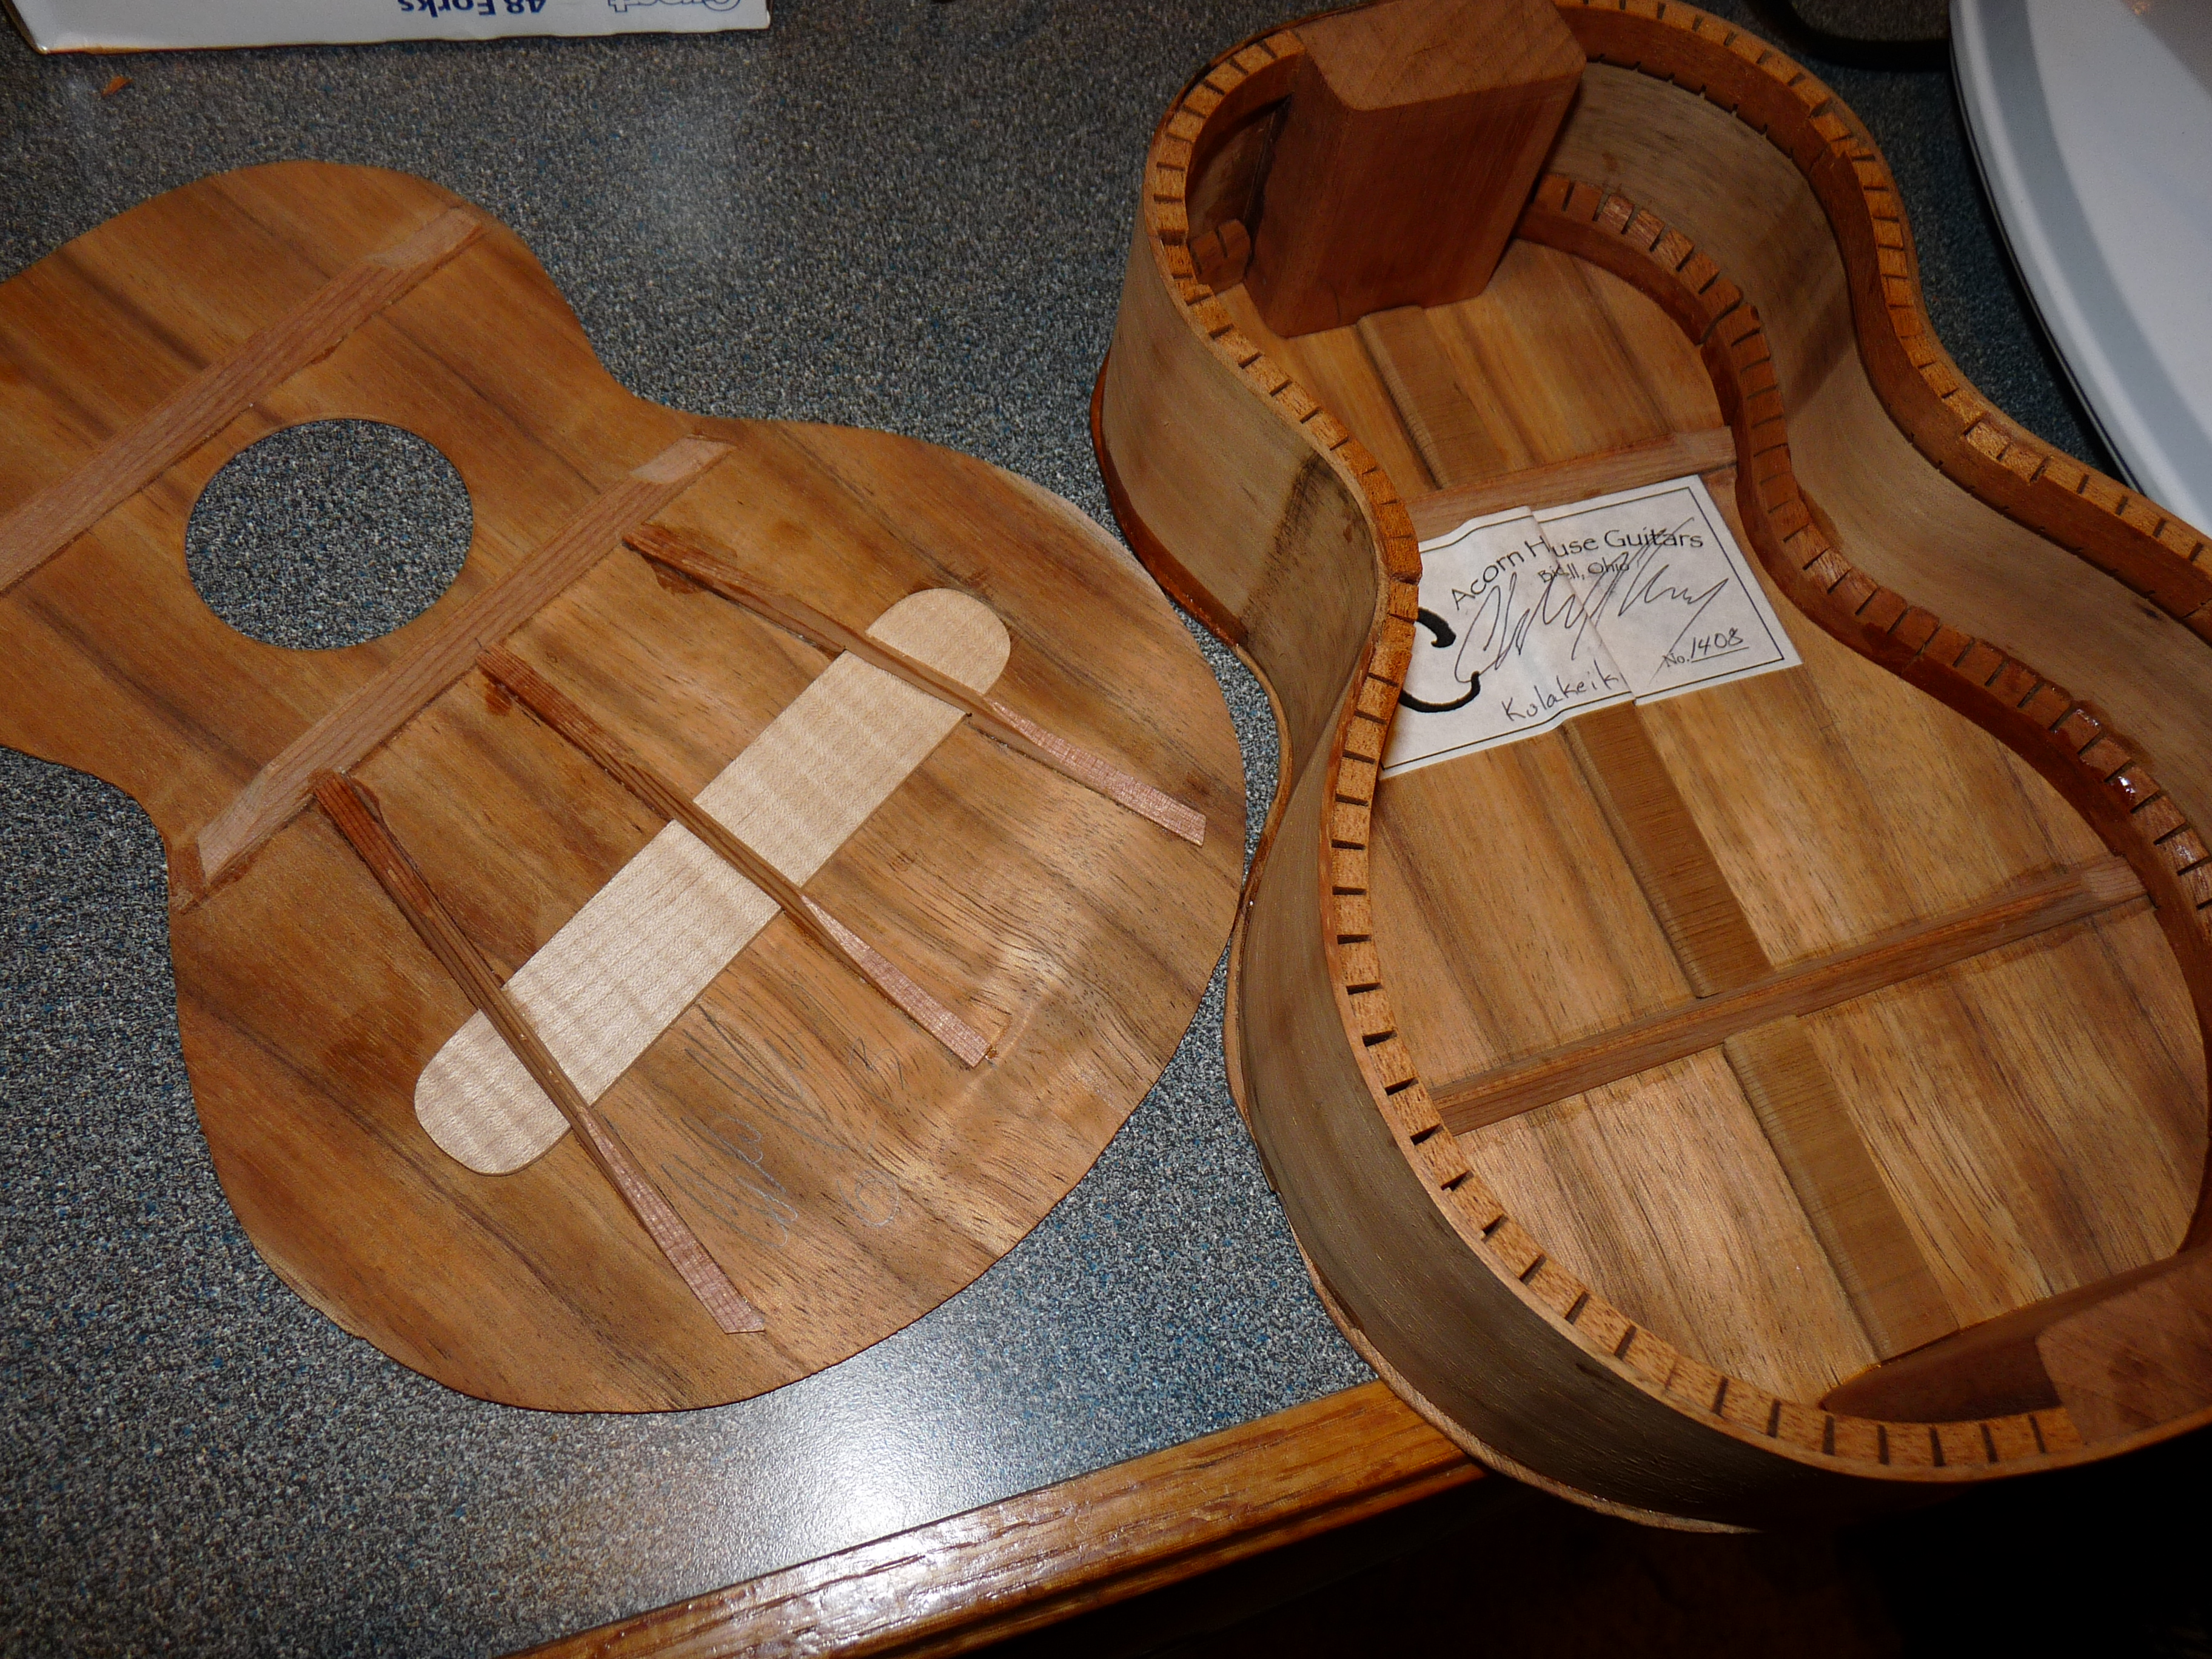
So far, I had been using fairly high gram strength glue. (Hide glue comes in different “gram strengths,” thEve higher it is, the tackier and less open time there is, and the stronger it is supposed to be.) I had been using 251 gram strength, but for the larger glue surface of the back and sides, I mixed up a batch of 162 gram strength glue, to hopefully give me a precious extra minute of open time. As fast as I could, starting with the back, I spread the hot glue over all the kerfing, positioned the back, and pressed and clamped. It was ok, but I could still see a couple of areas that would need to be addressed. But, I had a plan. So, I repeated the same process with the top. Again, try as I might, I still had a couple of areas that didn’t get a good bond, whether from not enough glue, or not fast enough with the clamps. But here is where hot hide glue’s greatest liability is also its greatest asset. With modern glue, I would have to scrape all of the dried glue out of the joint, squeeze some more in, reclamp, and see how I did the next day. With HHG, I can just heat the affected area with an iron, work some more hot glue in, clamp, watching the joint close, and be done. The glue will stick to itself, and the heat and moisture of the new glue, will reactivate the old glue. Also, I don’t have to worry about being sloppy, hide glue doesn’t affect any finish, the way modern glue does.

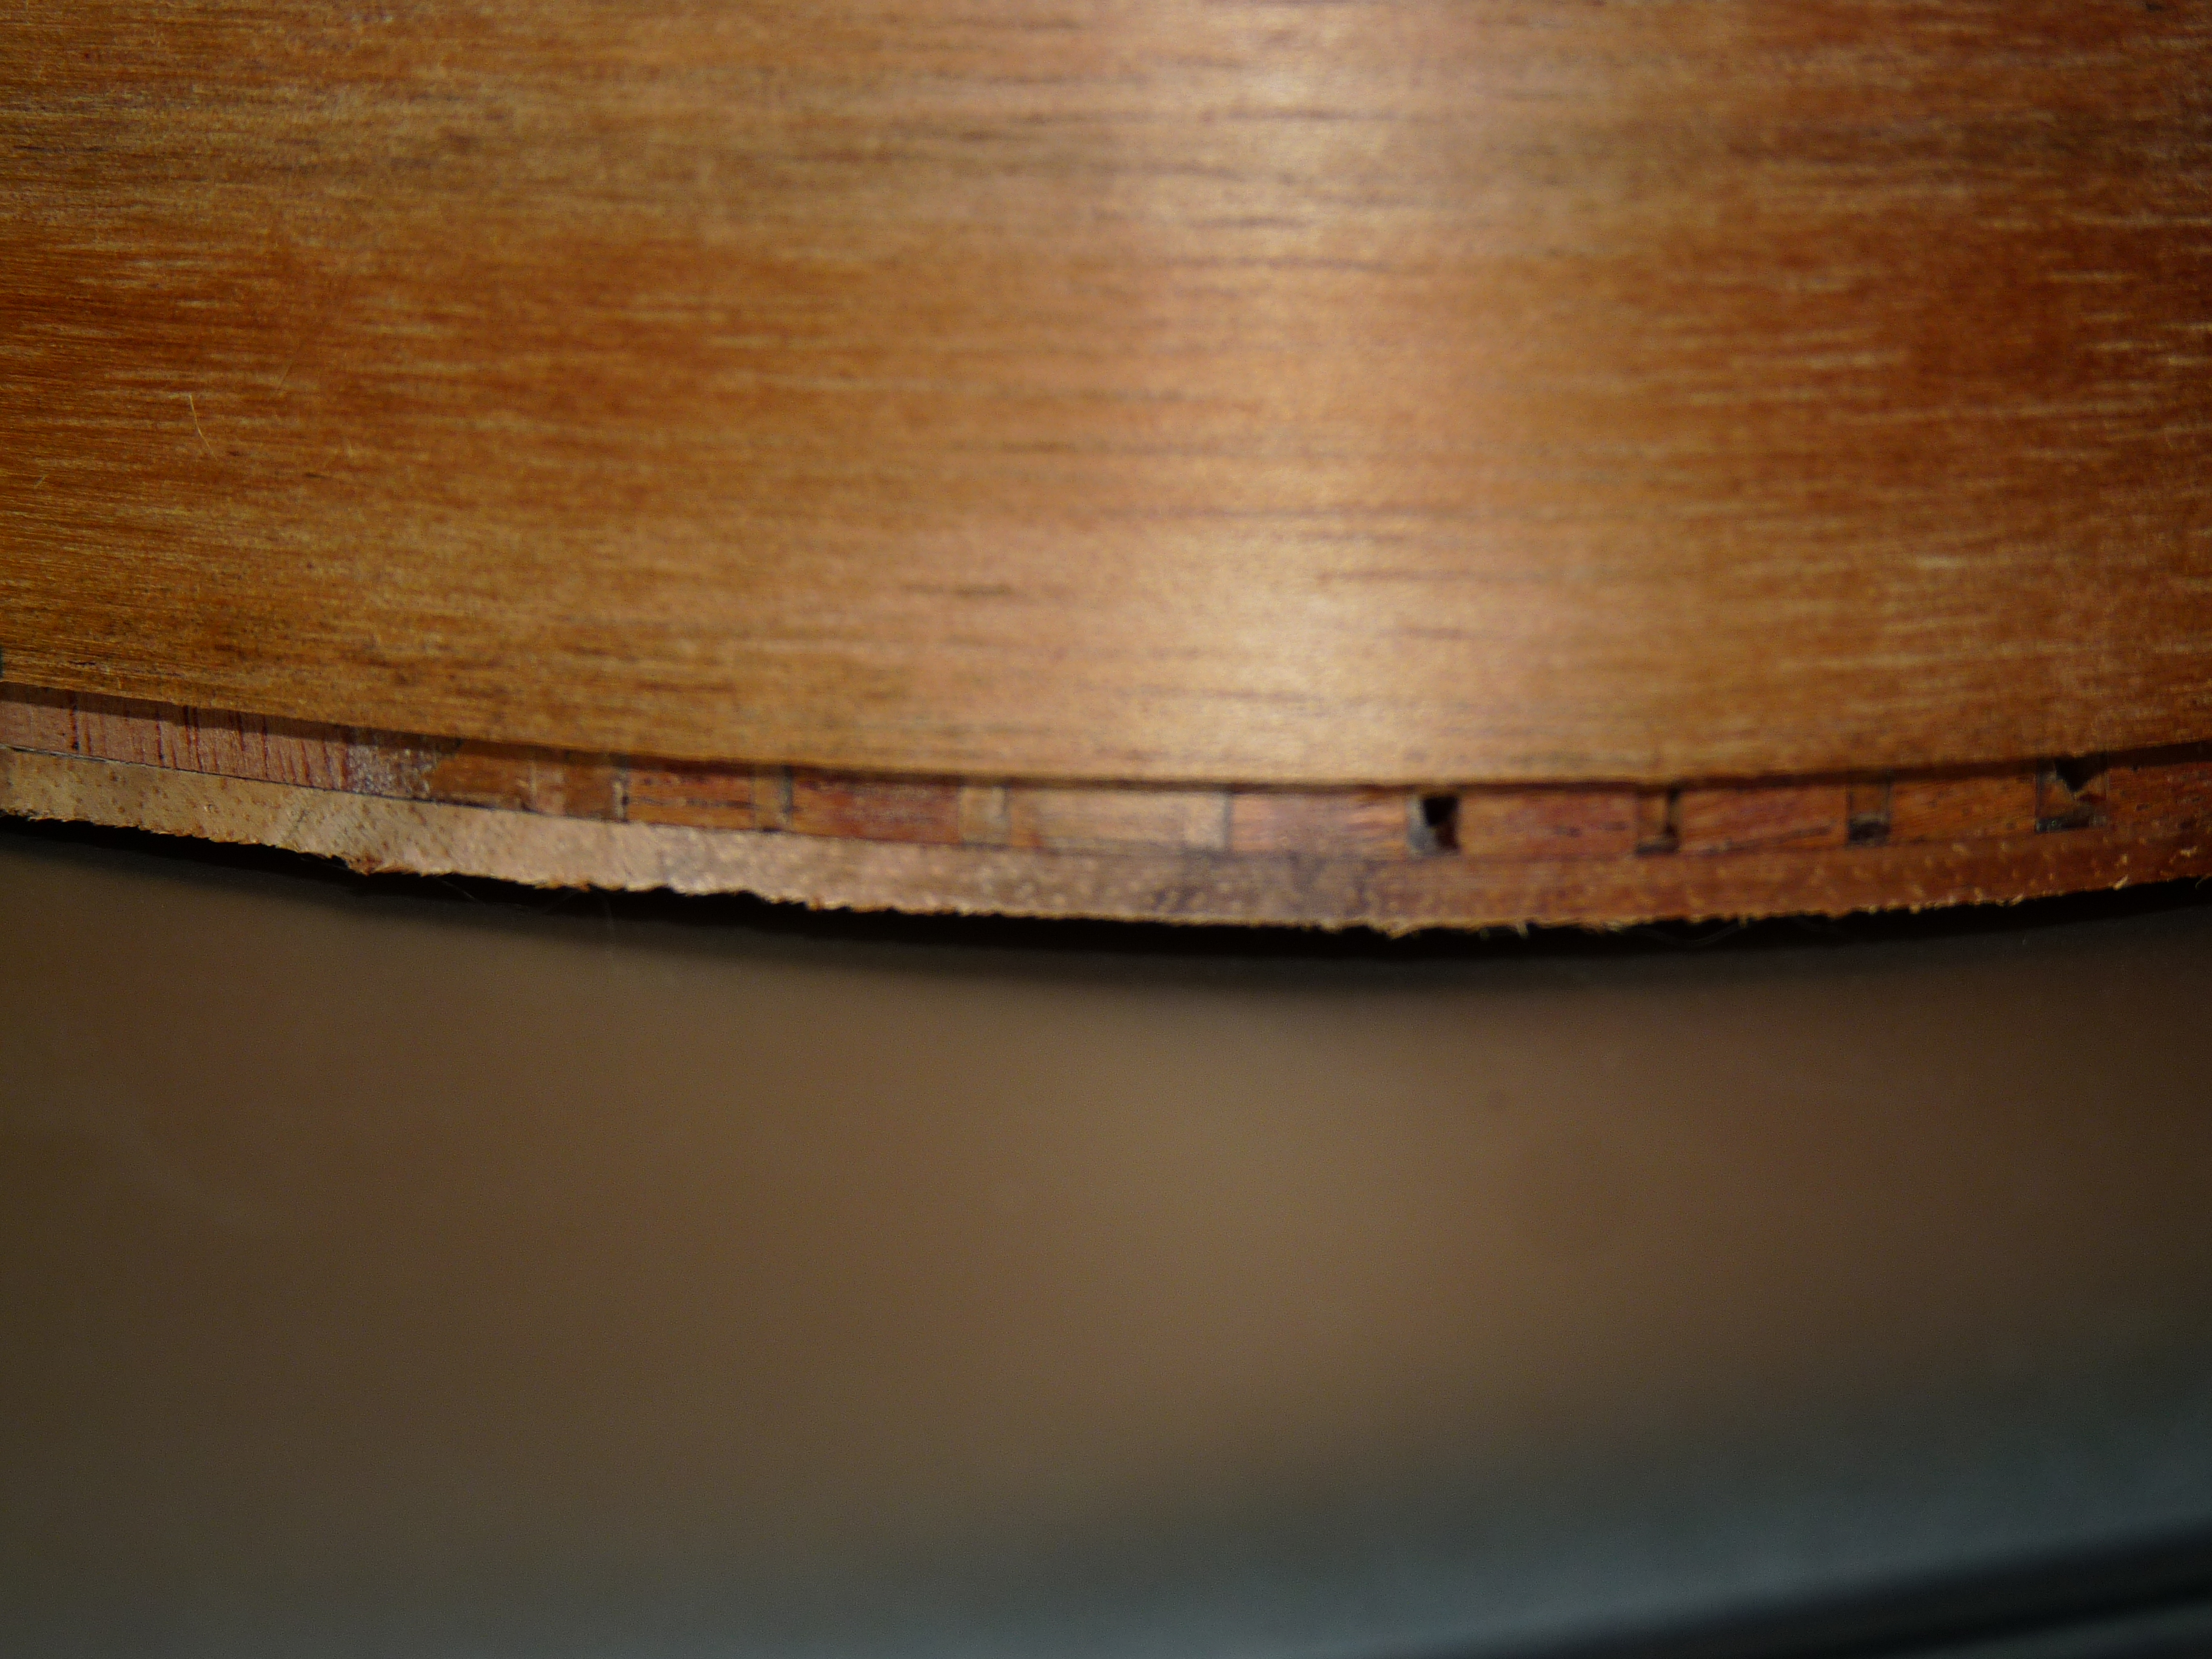
So, with any remaining gaps closed, I can flush trim the top and bottom, leaving me with a closed box.
And, after routing the channels for the binding, its easy to see how well the reglueing went. No gap, even on the inner part of the joint.
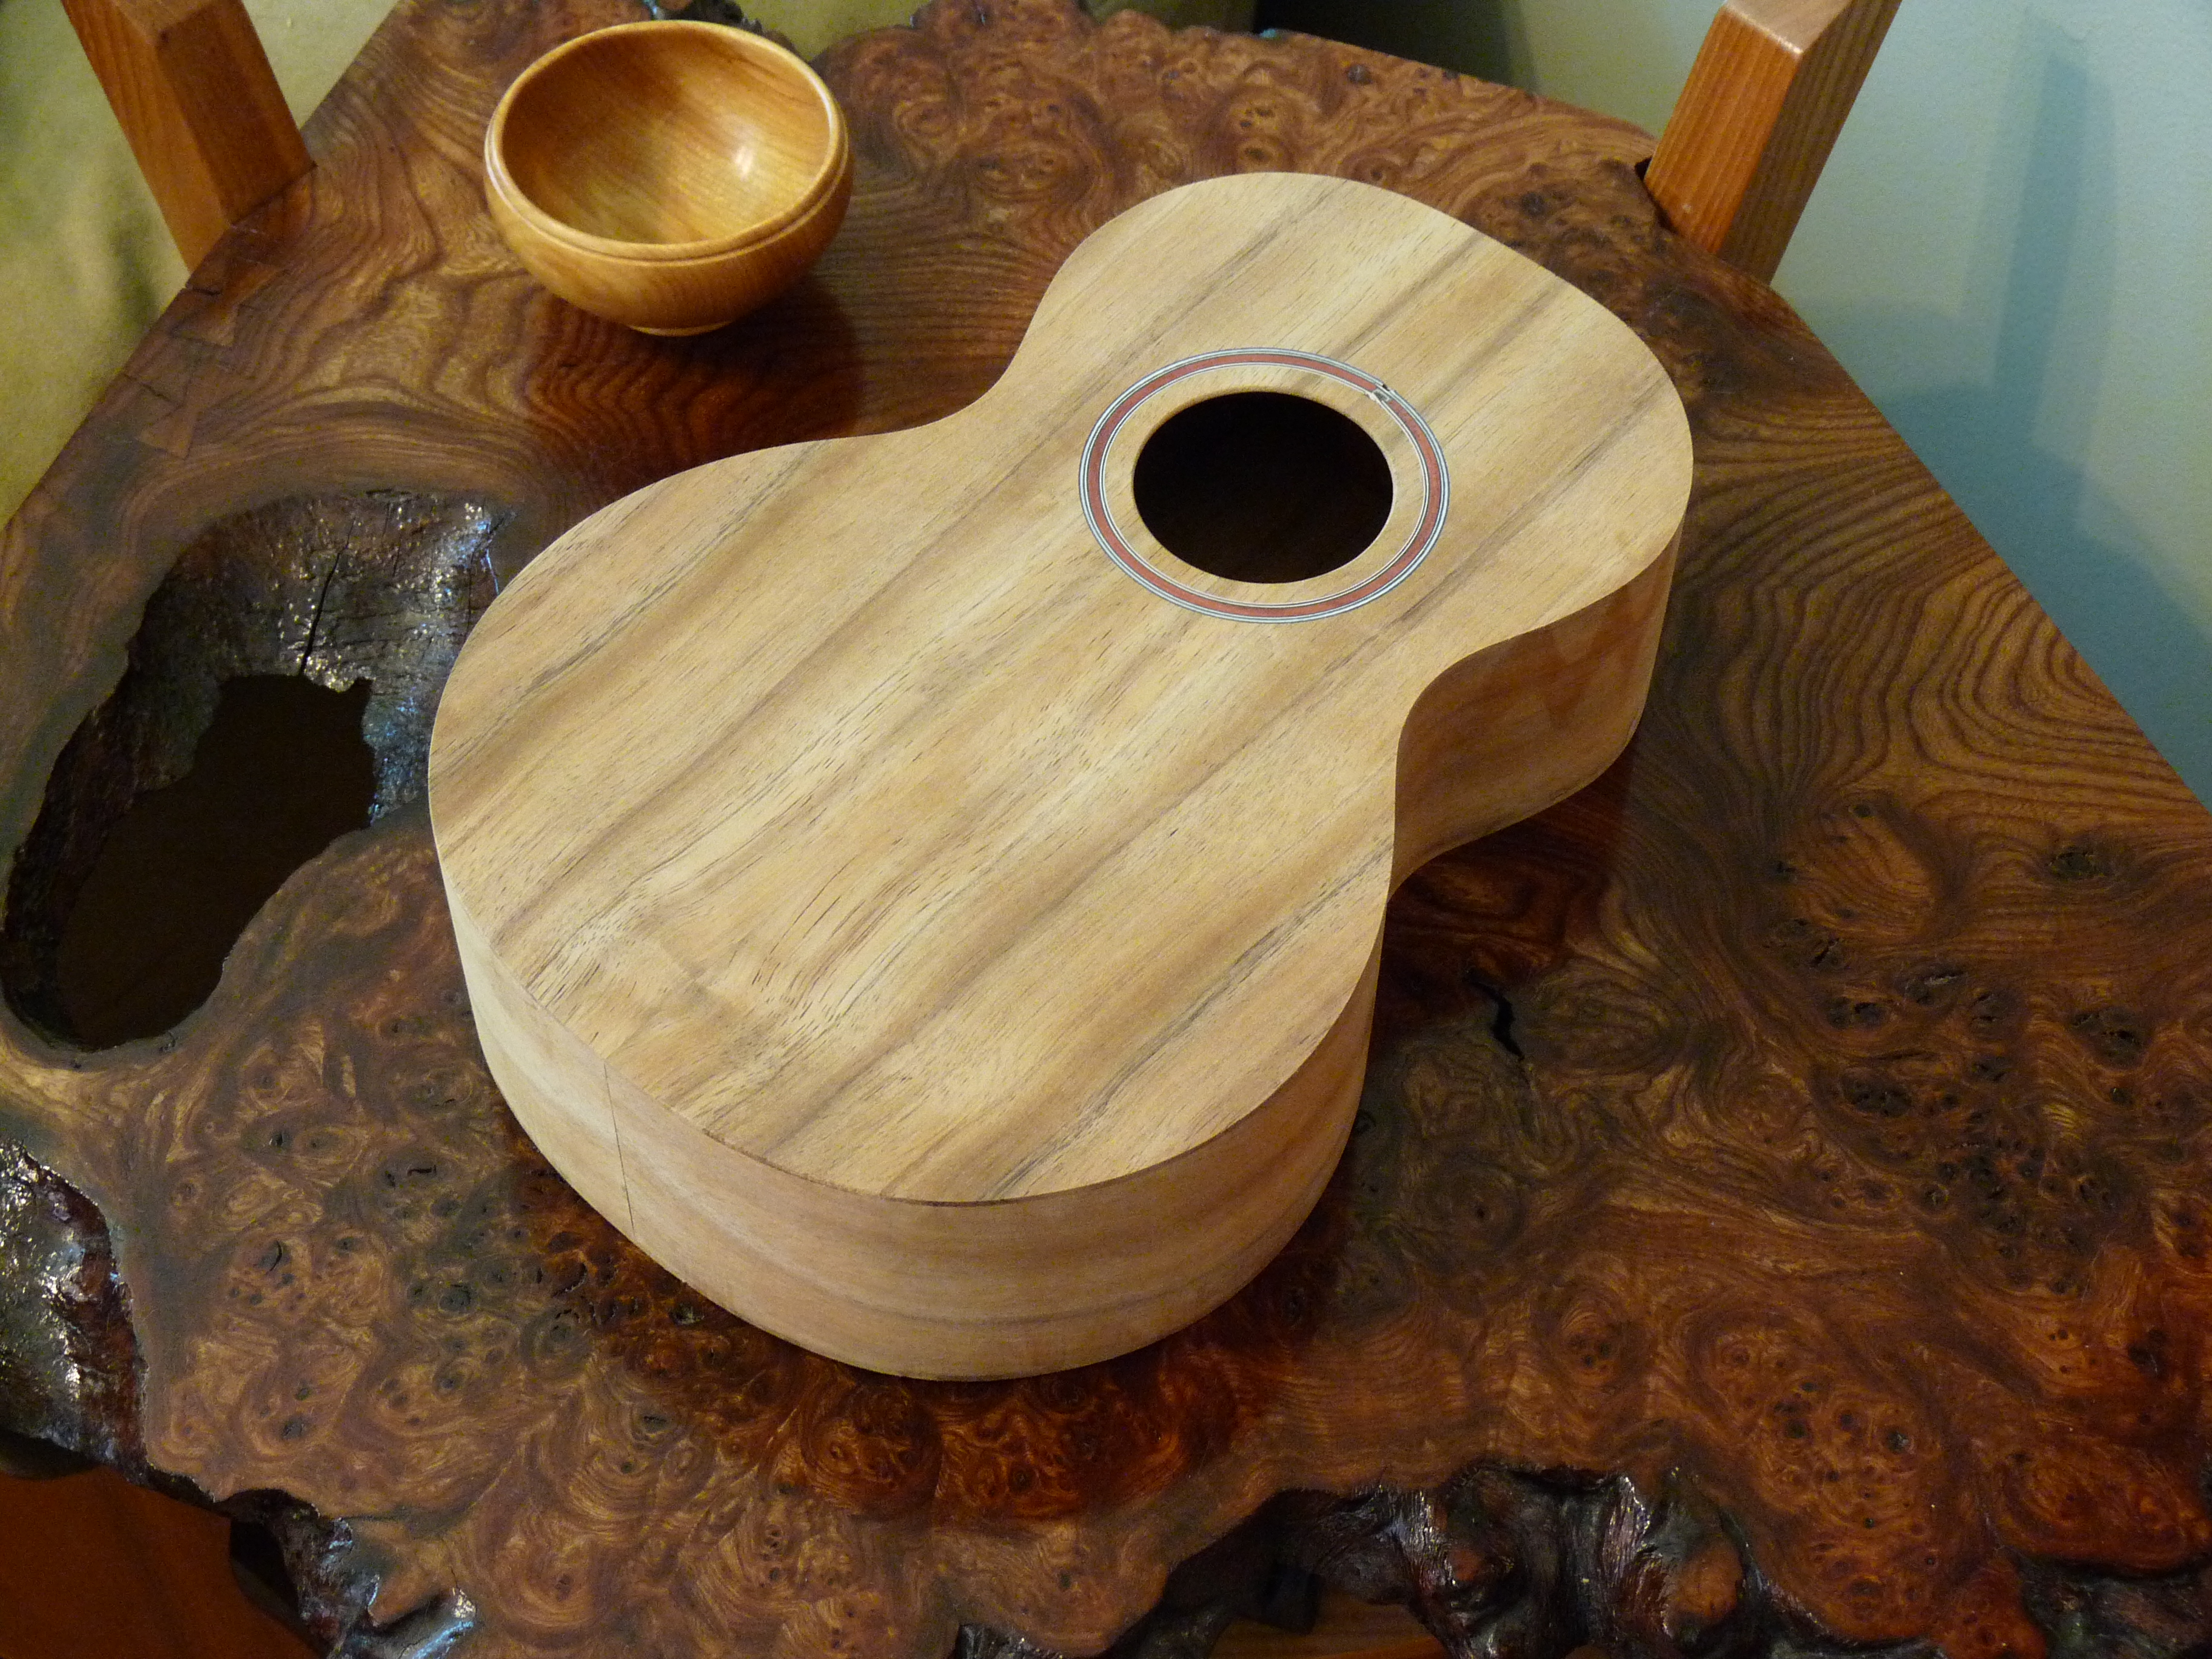
Then, after bending the bloodwood bindings, and glueing them in, with purling on the top, the body was almost complete. Just a little scraping, planing (with the help of my favorite wee little ebony plane), and sanding to go.

And the body is done, waiting for a neck.

If you don’t succeed, stick, stick again. (As long as you’re using the magic glue!)

Leave a comment