Shipbuilding
OK, maybe not building an actual ship, but this entry is all about bridges and portholes.
I’ve been focussed on teaching and getting in some WWing and luthiery instead of posting blog entries, but as the guitar build nears its conclusion, I’d thought I’d catch up a little.
The body and neck are all completed, so before I can get it into the finishing room I need to make the bridge. We decided to go with cocobolo for the bridge, instead of ebony as we originally decided on, so that it would match the cocobolo bindings etc. I had a leftover blank from the Beast builds that was only partly cut out that would fit this size bridge easily. Before doing any shaping, while it is nice and flat and rectangular (-ish), I routed out the saddle slot and drilled the pin holes.

Then I could cut the shape to outline. I created a new design to compliment the jumbo body shape, echoing the round belly, while providing an upper shape that would achieve the most important function of the bridge: to tie into the X-braces for best transmission of the sound vibrations.

With the outline cut at the bandsaw and the saw marks smoothed, I could proceed with the shaping with rasp and file and sandpaper.I wanted a multilevel bridge, with the central belly being the highest part, then the much lower wings, but with a front ridge to provide strength and (again) maximum vibration transference.

Positioned on the body (with all the blue tape helping with position and layout marks):

After masking the bridge and fingerboard glue surfaces, and much finish sanding, it went into the finishing room for its first coats. Two coats of blonde shellac were followed by two coats of an oil/varnish, applied VERY thinly, and sanded to 600 grit between coats. I wanted to get things sealed and protected before the next step, which was to cut a sound port into the upper bout. This is a new innovation that the customer wanted that is to allow the player to hear the sound of the guitar better while playing. Not having done any before, I was concerned, especially with the osage orange, which has a tendency to want to splinter at cuts.
Sure enough, I had some trouble with the edges, so I decided to make a decorative porthole ring to go around the hole. Easy to say, tricky to do. It had to be thin enough to not be intrusive, but it also had to follow the curves of the upper bout. I used the same mallee burl that I used for the endgraft and heelblock. Using a combination of a circle cutter, band saw and drum sander, I was able to get my ring. Then I fired up the bending iron to carefully bend it to shape. After letting it dry in the form overnight, it was ready to glue into place.

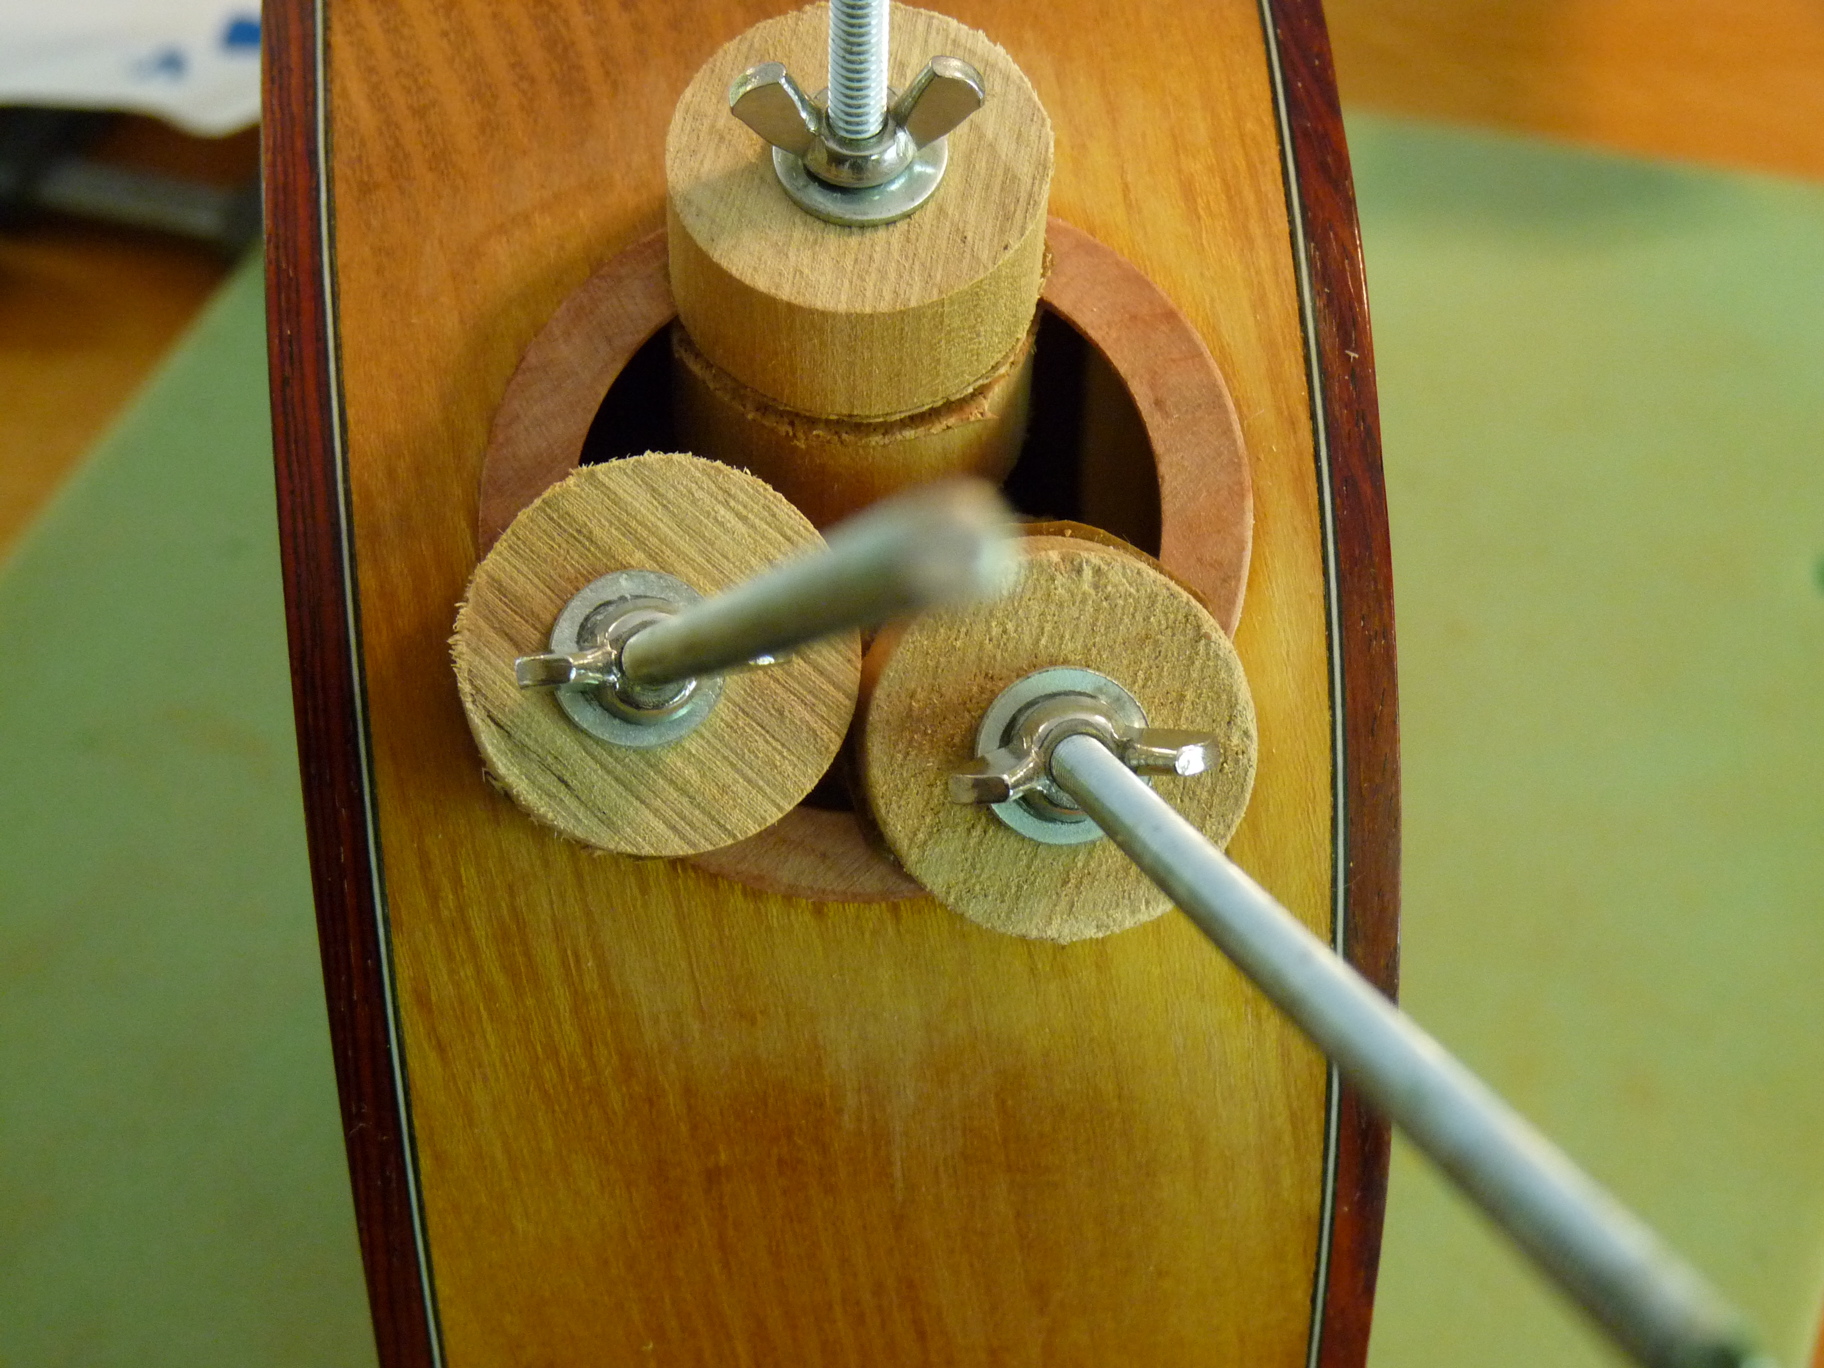
Some homemade spool clamps proved to be the best method for glueing.
And, after some finish sanding and some shellac, voila!

Now, back to more finish coats, then final assembly and setup.

Leave a comment