Sorry Elsie
With the renewed wave of enthusiasm for ukuleles that has grown over the last few years, I decided on doing an uke build this summer, in Concert size (the second smallest.) Since its a small, relatively uncomplicated build, I also want to increase my skill set and explore building with the traditional luthier’s adhesive: hot hide glue. Aside from tradition (after all, that’s the only glue there was up to about a hundred years ago), HHG is preferred amongst many luthiers for it ease of disassembly for repairs (critical in violins), and its claimed superiority in transferring energy. It is supposed to cure more crystalline, with no creep, or movement.
HHG is sold dry, in a few different forms – granules, powder, button, etc. – which then has to be hydrated and cooked. So, following a standard recipe, I used a 1:1.9 ratio by weight of glue to water and let it absorb for an hour. Then, using a double boiler (well, a cheap pot on a cheap hotplate), I brought it up to its ideal temperature, between 140°-145°F. Anything much higher and the glue will begin to lose its strength. Anything cooler and it will start to set up too quickly.

According to recommendations, I kept it at temperature for a half hour, and then let it cool down before storing it in the fridge overnight. This is supposed to let everything meld completely.
The next day I got ready for my first HHG glue up: joining the top and back plates. When using HHG one of the things you have to be careful with is preparation. Joints must go together without gaps and without forcing, and clamping strategy has to be worked out ahead of time. Because it has such a short open time, compared with modern glues, there is no time to be fiddling with clamps after its been applied, you just have to put it on, clamp it up, and move on. This is good practice for any glue, so being forced to think through it with the HHG is going to reinforce good technique. So, after jointing the edges as well as I could, I prepared my clamps. Because of the diminutive size of the uke, I was able to use two parallel clamps.

I double checked that the thin plates wouldn’t buckle under firm clamping pressure, and that there were no gaps in the joint. Then, after bringing the glue back up to temperature, I brushed it on, clamped it quickly, and left it.
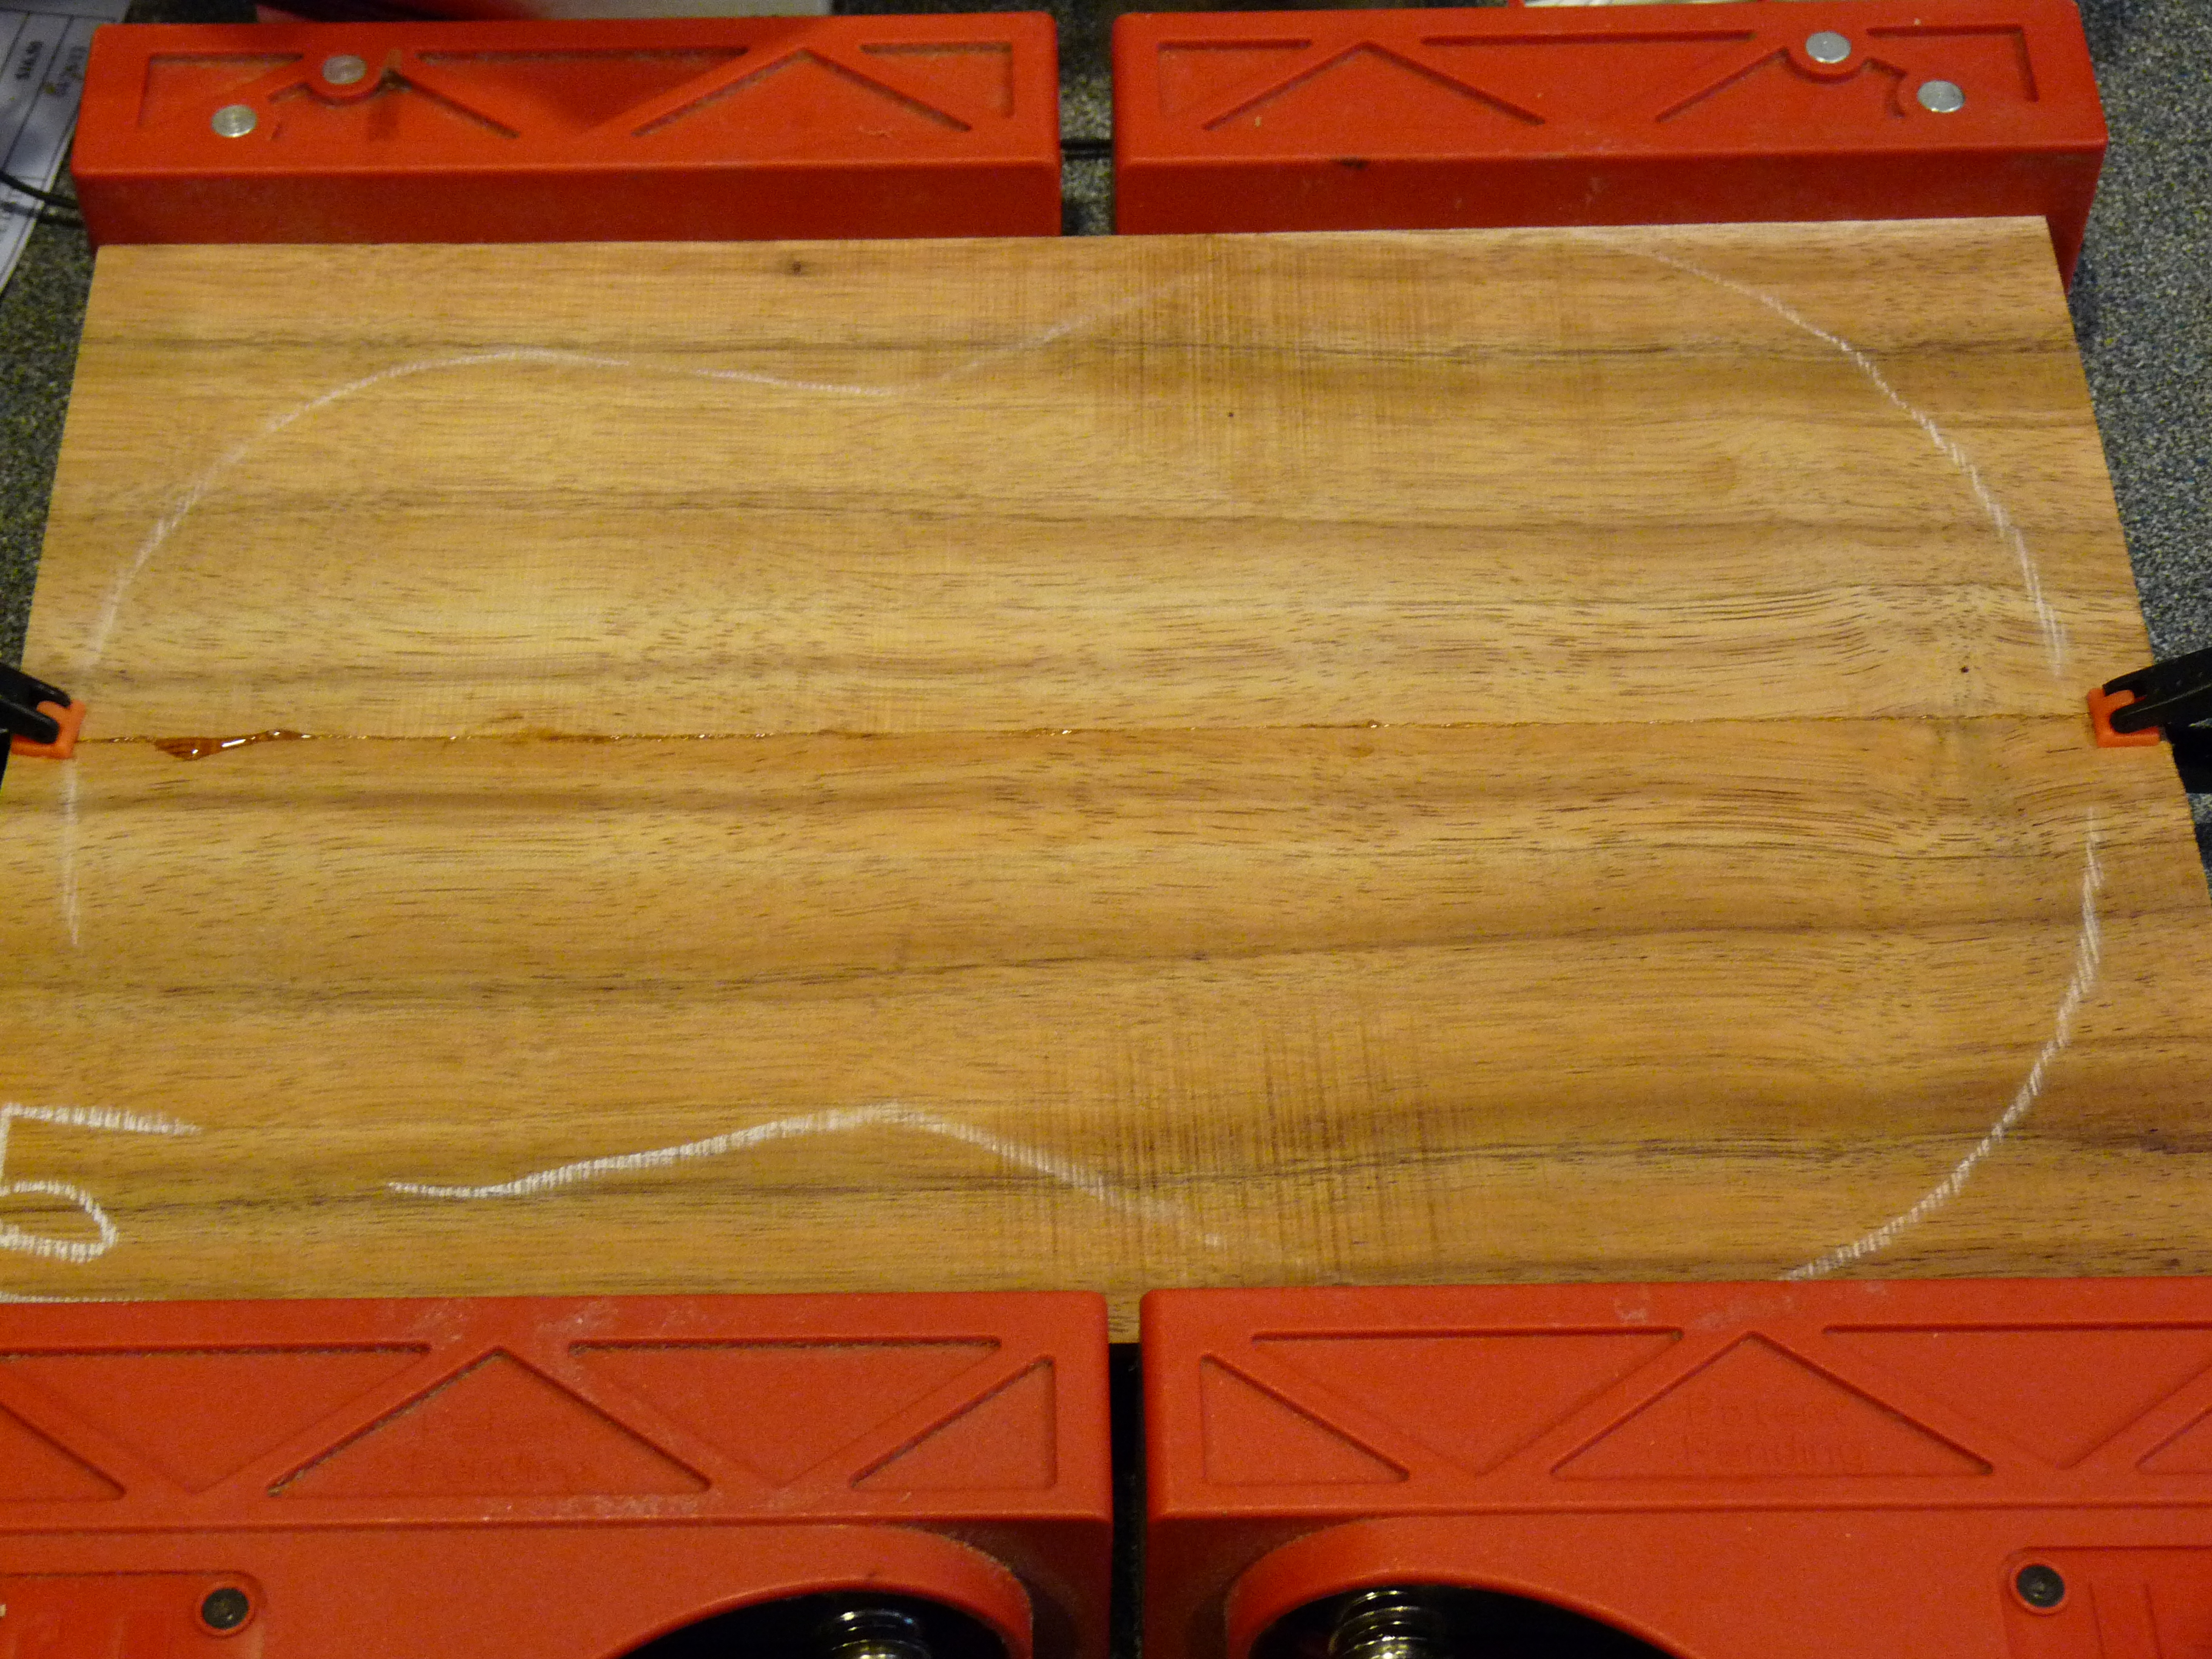
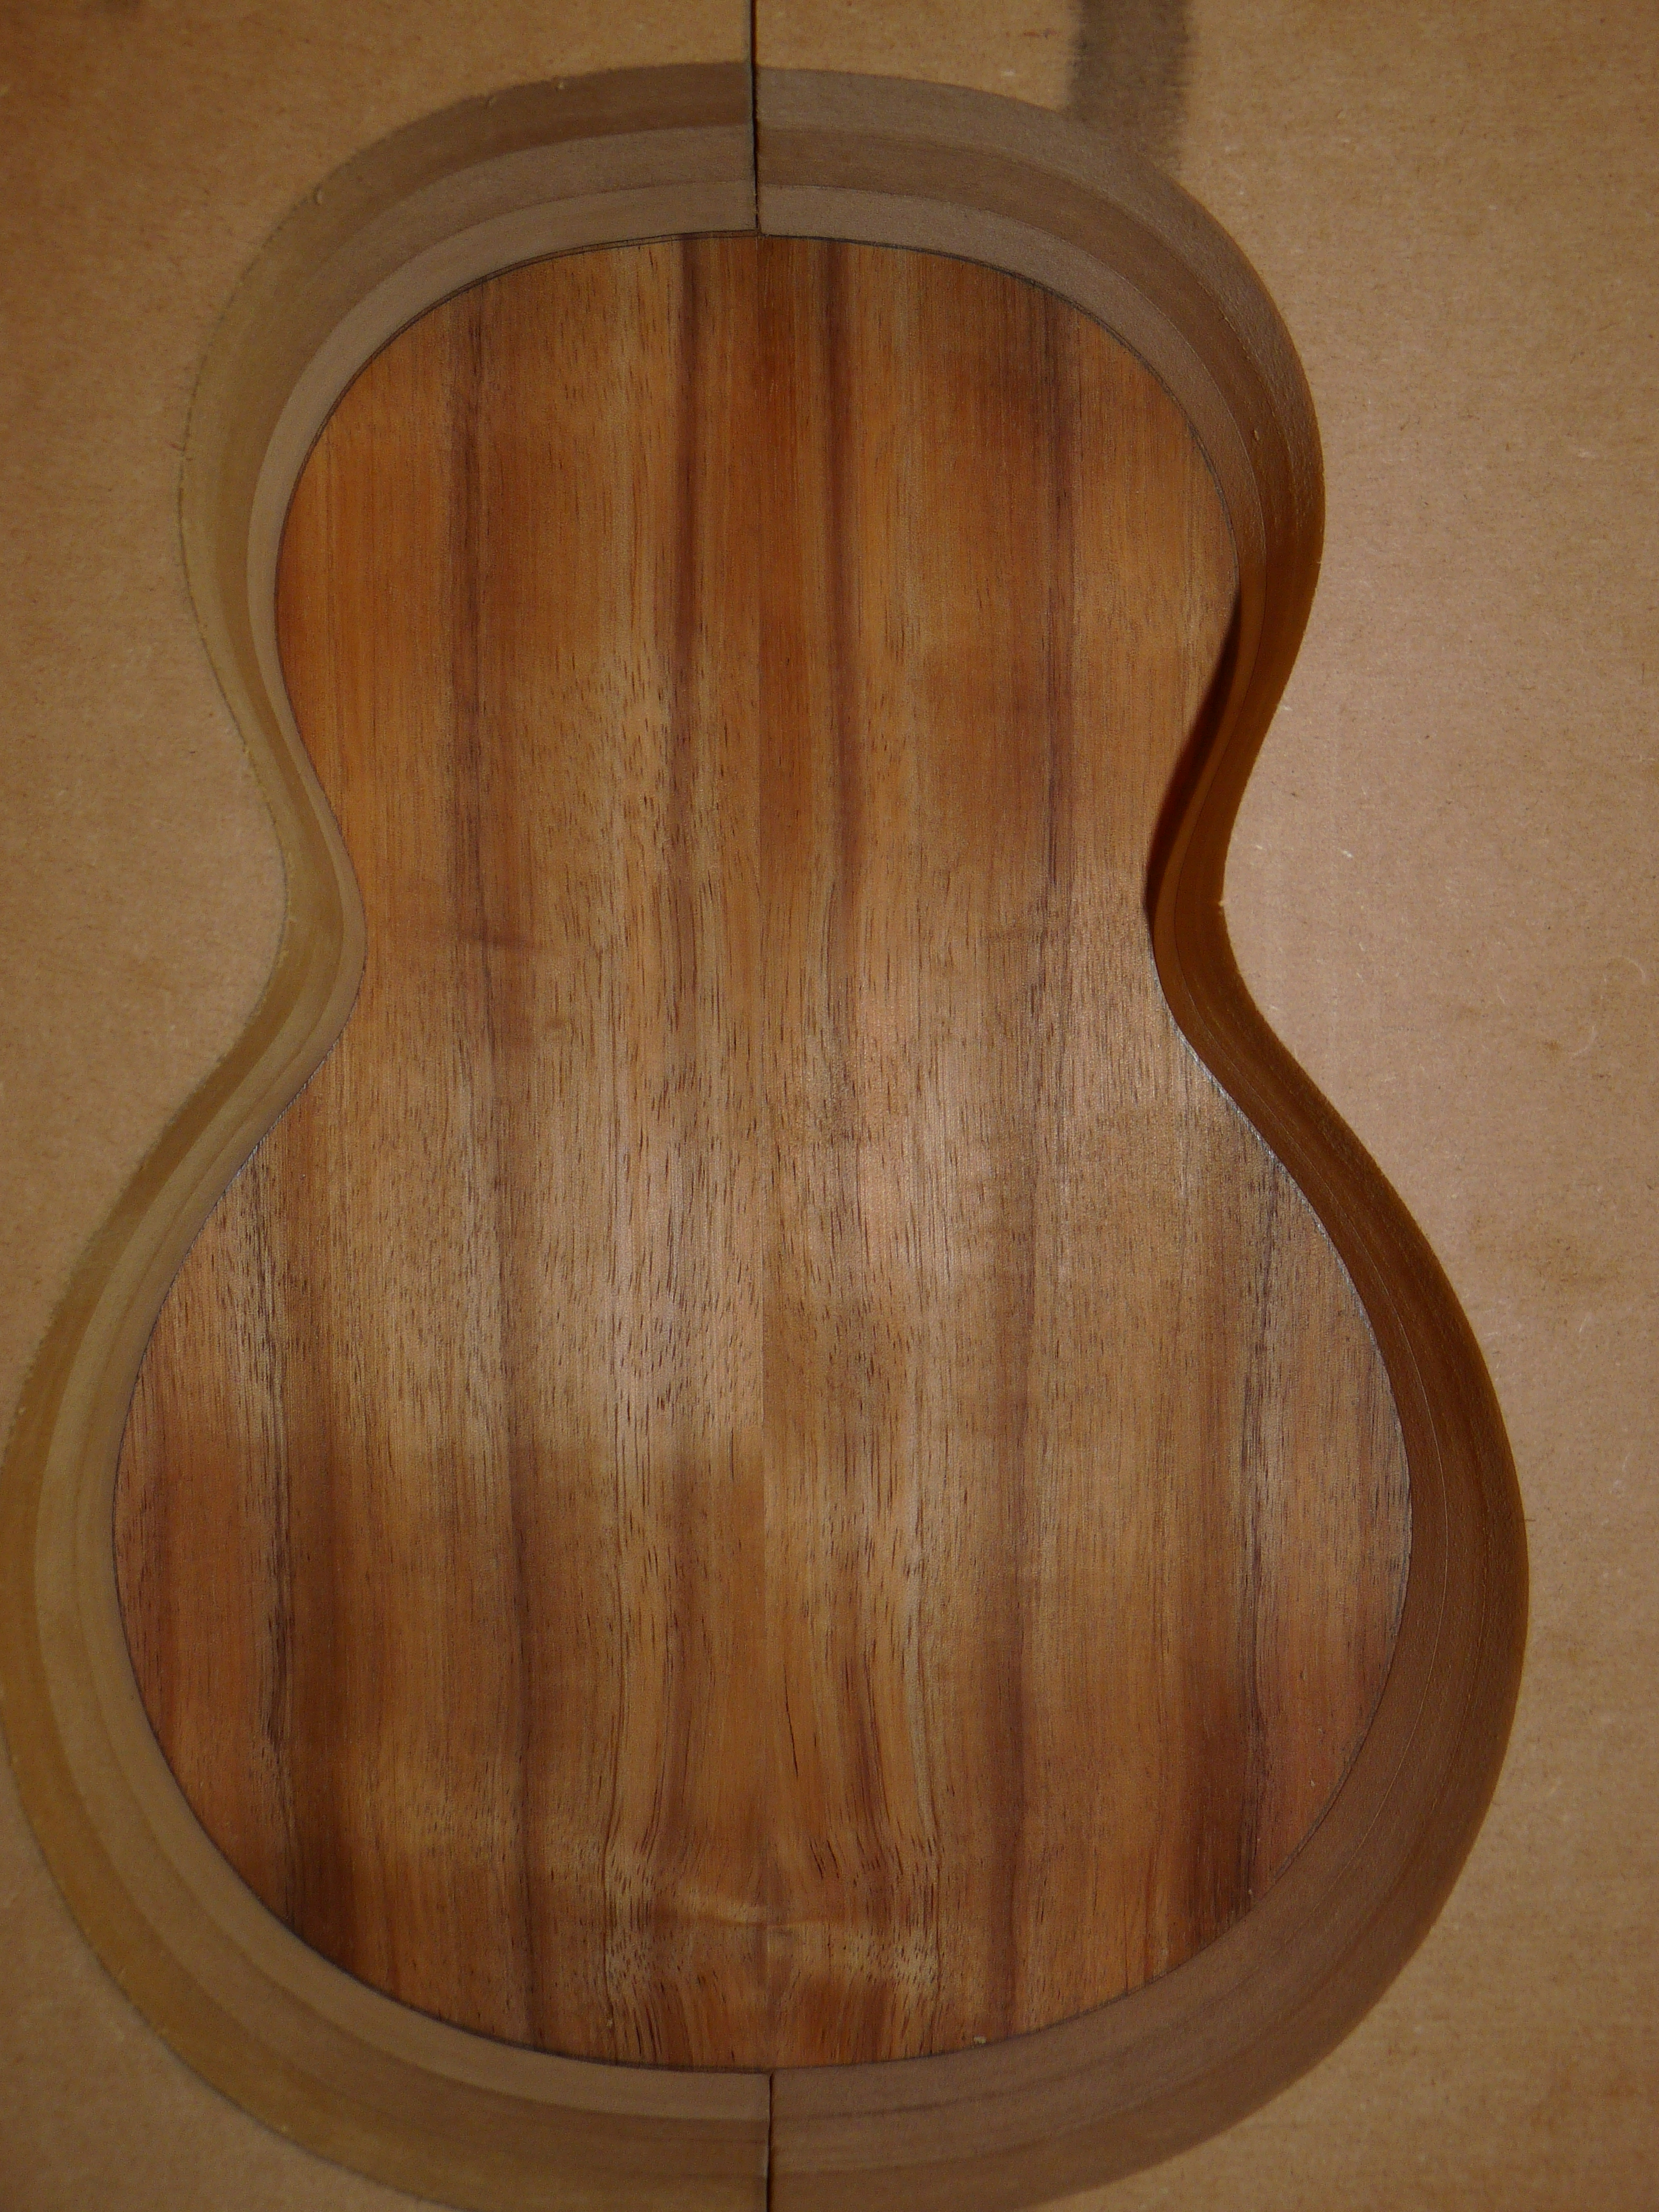
I unclamped after a couple of hours and, seeing that it looked good, left it to cure overnight. The next day, I sent it through the thickness sander to remove any squeeze out, and to get it to rough dimension. Everything was good, the glued up top and back had a nice clear ring when tapped, similar to before the glue up. With the form made, you can see the final appearance of the top.
So far, so good. Let’s hope I don’t find myself in any sticky situations as I proceed with my HHG experience!

Leave a comment