Only 3 Items per Fitting Room, Please!
After doing the initial fitting, it was time to get the neck down to a little more hand friendly shape. Before I can do that, I want to get the fingerboard cut to size and bound, using some more of the bloodwood binding. In order to get the correct nut spacing and angles, the width of the binding has to be subtracted from the desired width of the neck. Then the fingerboard is cut on the table saw and the arc at the bottom shaped at the sander. The binding is glued on and, after curing, the fingerboard is surfaced on the bottom. Now it can be glued to the neck blank. (I’m glueing it at this stage, so that the water content in the glue doesn’t cause any warping, which sometimes occurs in a thinner neck blank. After the glue has fully cured, the neck blank can be rough sawn for thickness at the bandsaw. Then the width is routed using the fingerboard as a guide.
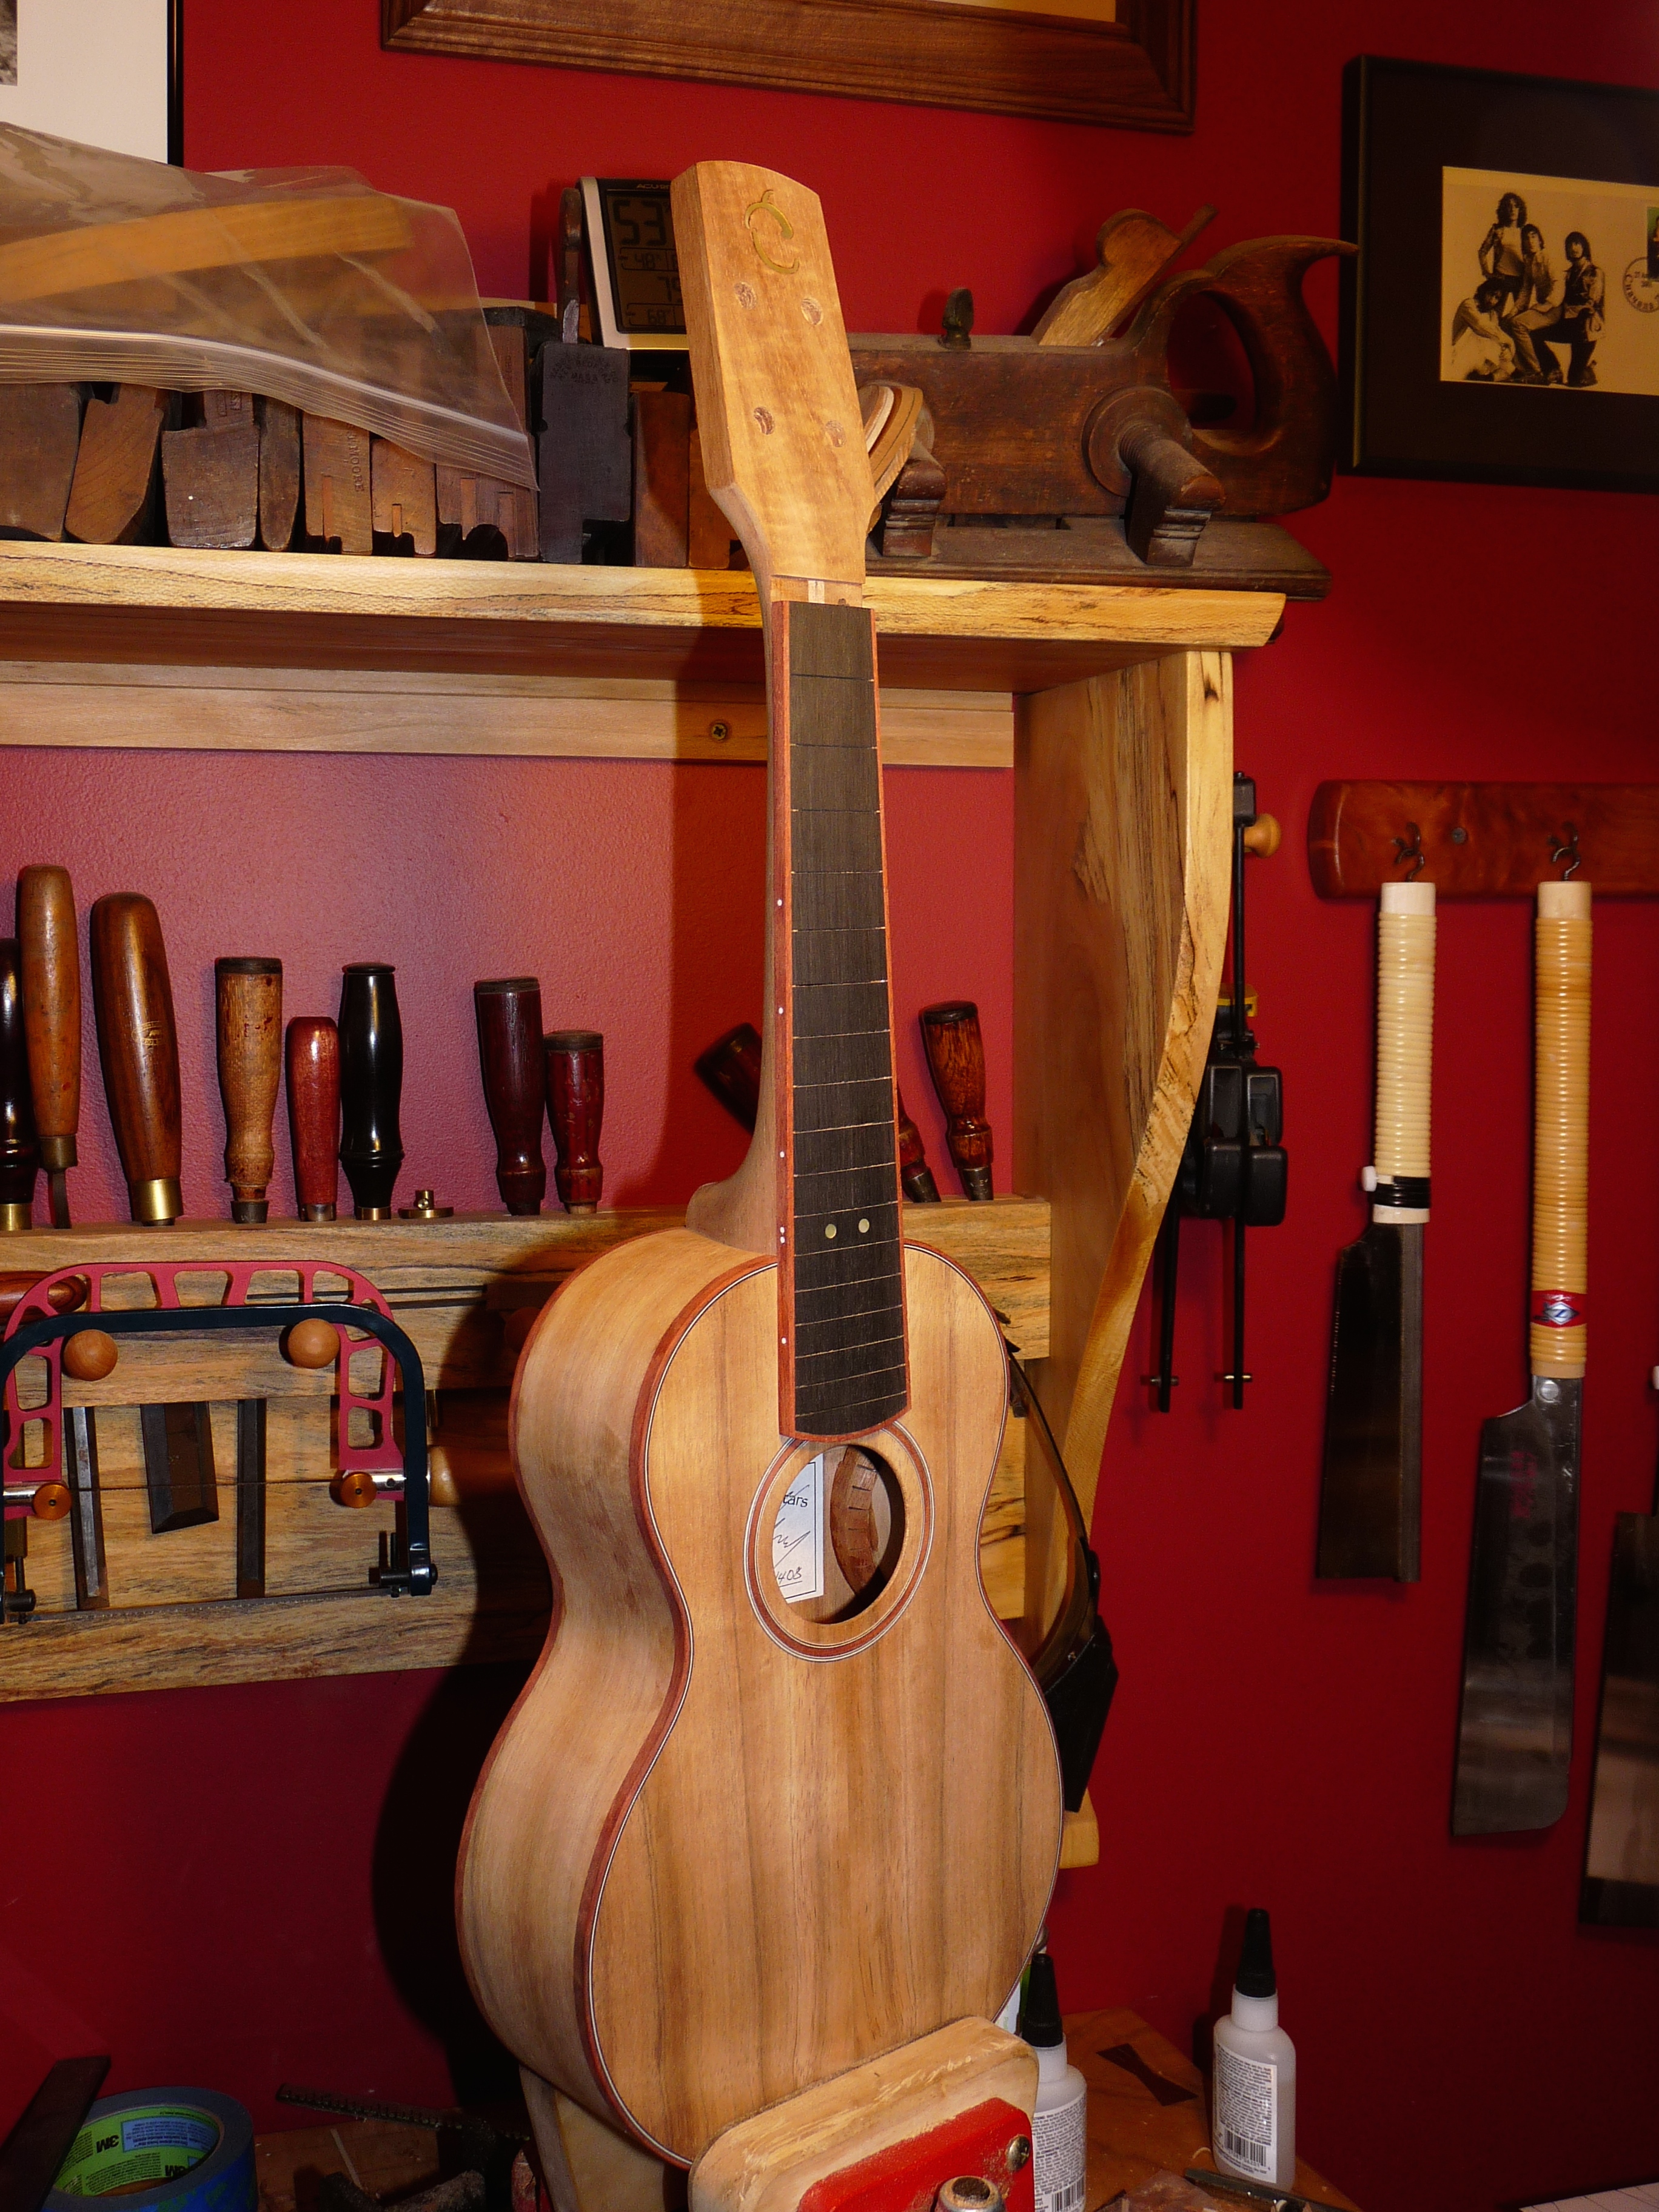
Then its time to break out the spokeshaves, rasps, and files and shape the neck and heel. Then, with the neck shaped, the final fitting of the dovetail can begin. I did need to add shims on the dovetail (next one, I shouldn’t try to fine tune the fit until AFTER the neck shaping is done,) but, with it loose, its perfect for dialing in the fit of the heel to the body.
A final overall sanding to everything, and the neck can be glued to the body. With the dovetail joint carefully fitted (after a LOT of checking, tweaking, checking, tweaking, etc.) so that it tightens up just as its seated, it goes together very quickly. Heat the glue, brush it on, slide it together, two clamps, and you’re done!
Then, after making the bridge, and masking it off, I can begin the finishing. I began with a few coats of very thin shellac, sanding between coats. The gold color of the loa really comes out now.


After sanding all of the shellac coats down with 400 grit sandpaper, and masking off the fingerboard, its time to put on the first finish coat of oil/varnish. Now the color just becomes deeper and richer. (I brought it inside to do the bulk of the drying to control the humidity a bit more than the garage. 90% humidity just isn’t good for finishing!)

A few more coats, and it’ll be ready for the final assembly.

Leave a comment