A little dental work
With the soundboard finished, it’s time to start a little assembly.
Classical guitars have a different structure to steel string acoustics, and therefore the order, and manner, of assembly is, at least traditionally, a little different. (Some modern builders have taken to doing a more steel string type construction for their classicals; and vice versa.) The soundboard is first attached to the neck, being careful to keep the centerlines aligned. This subassembly is clamped down to the solera and, after the sides are bent, the outer molds are bolted to the solera and the sides let into the Spanish heel.

To attach the sides to the soundboard, little triangular pieces called tentellones, or peones, (or tantalones, or dentelones, etc) are made, along with the end block, from some Spanish cedar.
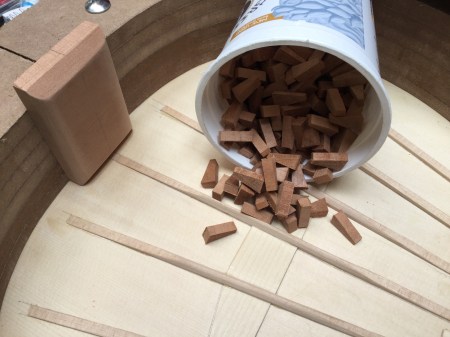
The tentellones are glued in, one by one, with hot hide glue, needing only finger pressure for a minute or so to clamp them in. This method is a slow, but rather easy way that results in a very secure attaching of the sides; certainly without the time stress and clamping difficulties of using a solid lining kerfing strips. There are two ways to space them; some will leave even gaps between each piece, I used the other way of putting them as close as possible, with minor variations due to the individuality of the cutting of each piece and the curve of the sides.
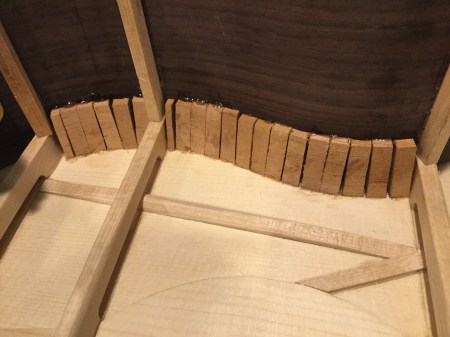
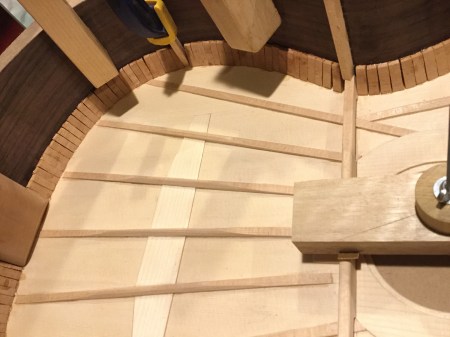
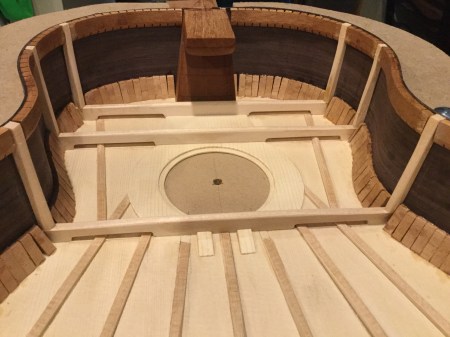
You can see the side braces that press on the harmonic bars, locking everything together. After a few hours (with breaks as needed, one other advantage of this method) the soundboard is solidly attached to the sides.

The back is attached using kerfing strips, more specifically the reverse kerfing strips I prefer. Since they don’t need to be glued on two surfaces at once, it’s easy, and quick, to clamp them to the sides with reinforced clothespins (a rubber band is wound round the jaws to provide a tighter grip).
Next up, closing the box.

Leave a comment