A burly circle
With the neck shaped as far as it will go before assembly, it’s time to give the soundboard it’s face. I’m using a very resonant soundboard made from Italian spruce harvested from the Val di Fiemme; the same forest that Stradivari used for his wood (although his wood was decidedly more old growth.) This wood rings with potential, and is very stiff.

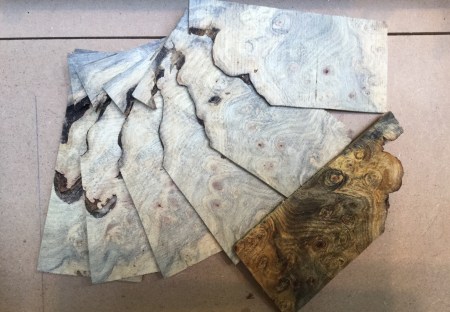
For the rosette, I decided to use some buckeye burl I had left over from a bowl I turned. The slices I was able to get revealed a beautiful, complex combination of shapes, swirls, and shades (I’ve wiped one slice with mineral spirits to show its finished appearance.)
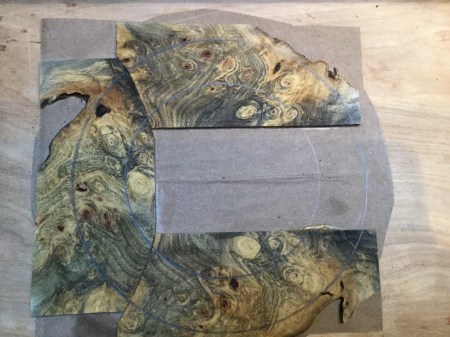
After gluing 2 pieces of craft paper (for ease of removal), I laid out the rosettes inner and outer diameters, and started laying out the slices.

With all 3 pieces on, I redrew the circles. The unfilled area will be hidden under the fingerboard, no need to waste good burl.
If you can see the way I butted the pieces up to each other, my original plan was to have an arc of black to hide/emphasize the seams. A good night’s sleep revealed a better idea. Using some ebony, I drilled some holes to end up with small, double arc’d, bits.
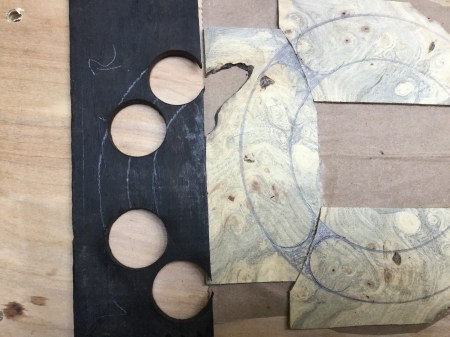
These were then inlayed between the burls and the border circles were routed.

Next, I had to decide how to frame the burl. I experimented with various combinations of purfling, using black, white, and even green lines.
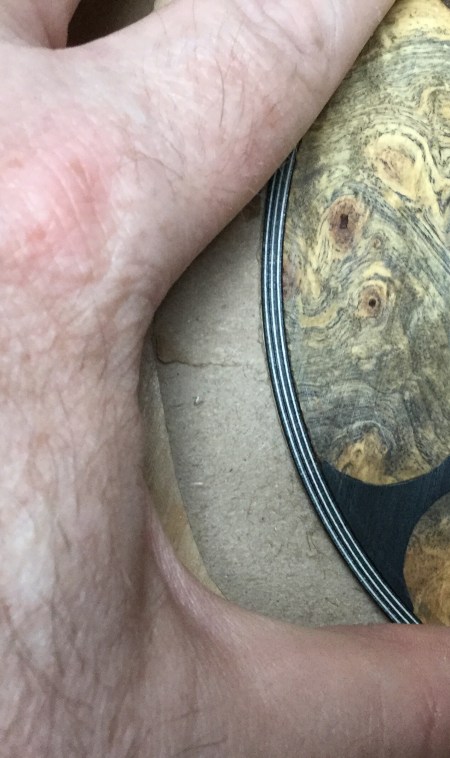

While I like the way the green brightened things up, in the end, I went with a variation of black and white. If I had used either of the green variations, the rosette would end up being far too wide, and the soundhole would have to get for too small. Alternately, I could have had the purfling go into the burl area, but, the burl was kind of the whole point; I wanted to keep as much of it that I could. I did vary the thicknesses of black to add some dynamic to it.
So, the burl was inlayed into the soundboard, with some Sitka spruce scrap filling in the area underneath the fingerboard.

Then, channels were routed for the purfling and it was glued in. After leveling the burl and purfling, a couple of voids in the burl were filled, and the soundhole was finally cut. The top was shellacked to bring out the burl, as well as protect the top during the rest of the construction.

Its a more modern take on the traditional classical rosette, which is made up of repeating mosaic tiles, with many surrounding purfling elements, but one that I prefer.
Brace yourselves, next up is the bracing!

Leave a comment